Winter Garden Spade Storage: Ultimate Guide for 2025
As the chill of winter sets in, it’s vital to give proper attention to your gardening tools, especially your winter garden spade storage. Neglecting the care and storage of your garden spade during colder months can lead to rust, deterioration, and a less effective tool come springtime. In this comprehensive guide for 2025, we explore expert strategies to prevent rust, prolong tool life, and ensure your spade is always ready for spring digging. By following these steps, you invest in the longevity and performance of your essential garden companion.
I. Introduction: Why Winterize Your Garden Spade?
Proper winter garden spade storage is more than just tucking the tool away. It’s a crucial practice to shield your spade from moisture and elements that encourage rust and handle decay. By winterizing your garden spade, you help extend the life of the blade and handle, reduce the likelihood of damage, and guarantee the tool’s readiness when the growing season returns. This proactive approach is a cornerstone of effective garden tool maintenance, saving money and effort in the long run.
II. Essential Preparation Steps Before Storage
A. Thorough Cleaning
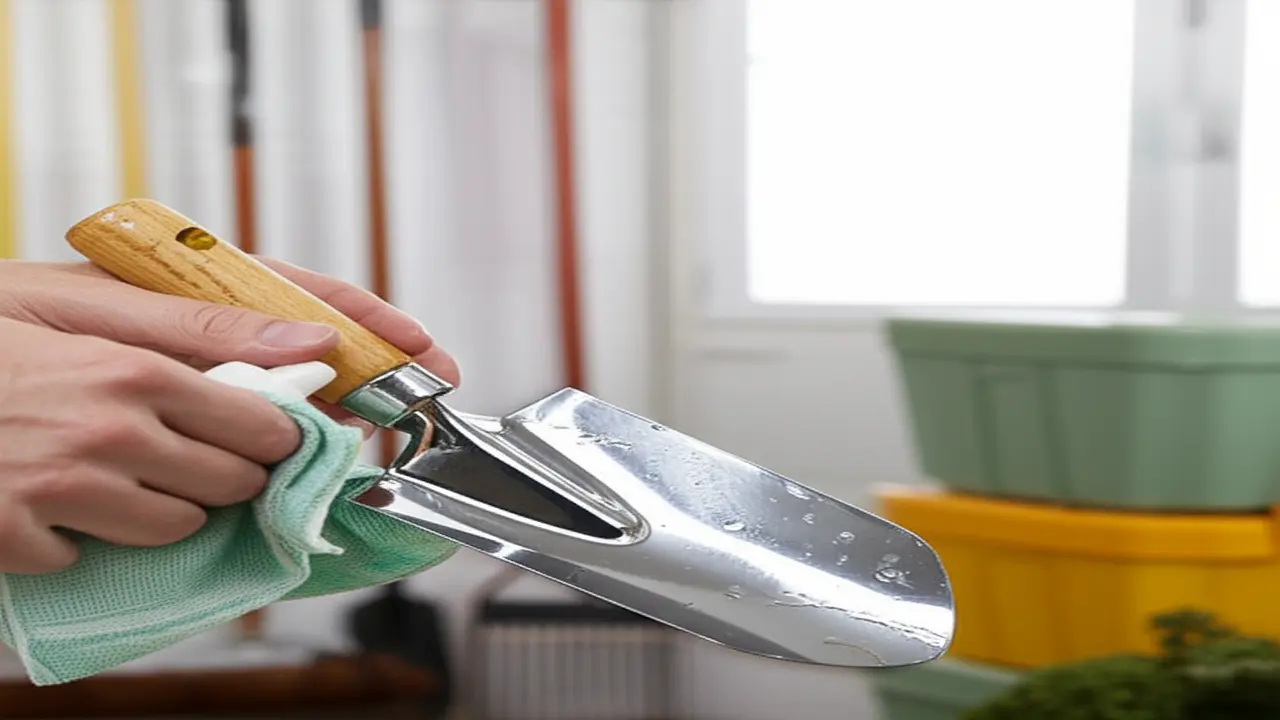
Before storage, an exhaustive cleaning routine removes soil, dirt, and organic debris clinging to your spade. Scrape off hardened soil with a putty knife or garden trowel, then use a stiff brush to clear remaining dirt. For stubborn residues, rinsing with a garden hose is recommended, but ensure you remove all traces because lingering soil holds moisture that hastens rust formation.

B. Complete Drying
Drying your garden spade thoroughly after cleaning is essential. Any residual moisture results in corrosion over the winter months. Air drying in a warm, well-ventilated space is ideal. Alternatively, wipe down metal parts and handles with a clean cloth to speed up the process and safeguard against moisture retention.
C. Inspecting for Damage and Wear
Conduct a close inspection of the spade’s blade, socket, and handle. Look for cracks, chips, or loose fittings that could worsen in storage or during next use. Tighten screws or bolts as needed, and set aside any damaged parts for repair or replacement. Attention to these details now prevents bigger problems later.
D. Sharpening the Blade (Optional but Recommended)
Sharpening the blade ahead of storage isn’t mandatory but highly beneficial. A sharp blade makes spring digging more effortless and precise. Use a file or whetstone to maintain a clean edge, always following the original bevel to avoid damage. Remember to wear protective gloves and sharpen away from yourself for safety purposes.
E. Addressing Rust
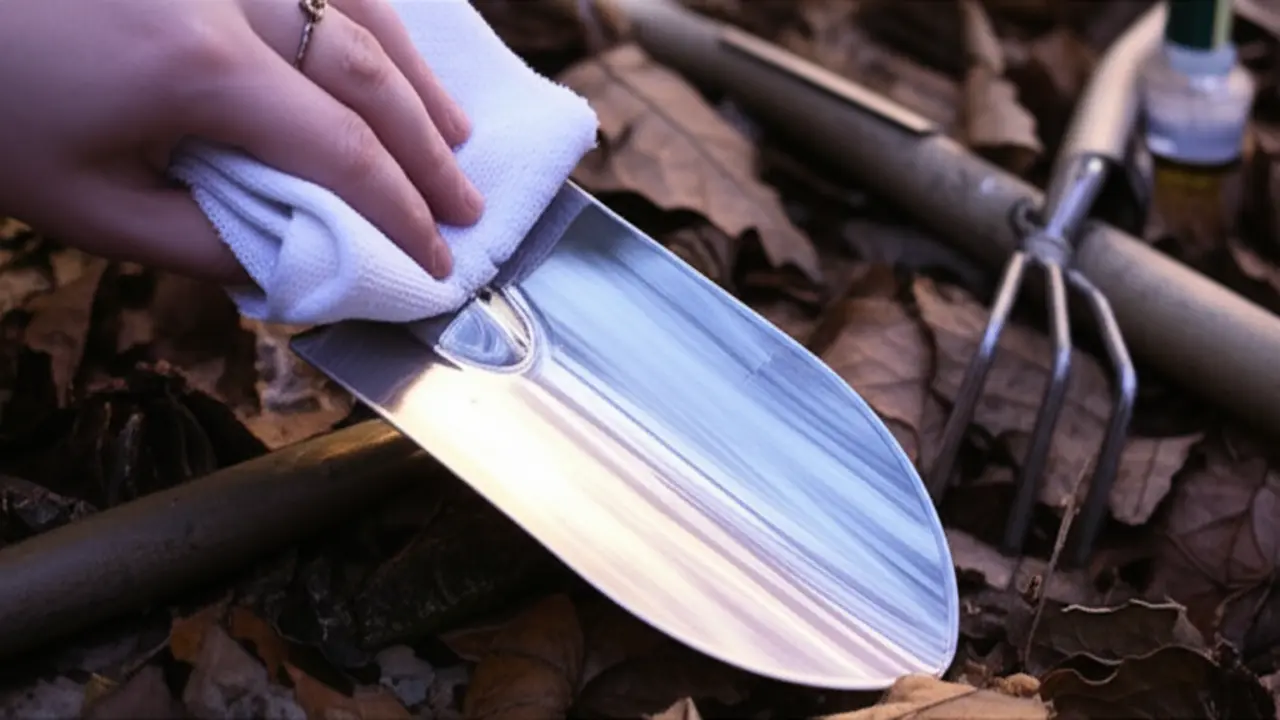
Check carefully for any rust spots, even minor discolorations. Use steel wool, a wire brush, or commercial rust removers to eradicate these patches. Early intervention ensures rust doesn’t spread under protective coatings during storage.
III. Protecting Your Spade’s Materials
A. Protecting the Metal Blade and Socket
To shield your spade’s metal parts, apply a protective coating that blocks moisture and oxidation. Linseed oil is a natural choice, while WD-40, mineral oil, or wax also work well. Use a clean rag to evenly spread the oil or spray, covering the entire blade and socket. This treatment forms a barrier against rust while preserving the metal’s integrity.

B. Caring for the Handle
Wooden handles require special care to avoid drying out and cracking. Clean the handle with mild soap and water, sand away any splinters, and apply wood preservative or boiled linseed oil. These steps keep the wood nourished and durable. Fiberglass or plastic handles are easier to maintain; clean with soapy water and check for any cracks or stress points that might need replacement.
IV. Choosing the Ideal Winter Storage Location
A. Key Criteria for Location
Selecting the right storage spot involves prioritizing dryness and protection from weather conditions such as rain, snow, and frost. Avoid damp areas and locations where condensation forms, including concrete floors, which can wick moisture into the spade’s materials.
B. Suitable Locations
Sheds offer a dedicated space but vary in protection depending on insulation and ventilation. Garages, with their generally stable temperatures, provide good insulation and dryness. Workshops or basements are often the best spots, offering dry, sheltered environments free from external weather changes.
C. Unsuitable Locations
Outdoor storage exposes tools to moisture, accelerating rust and handle degradation. Similarly, damp corners or exposed areas indoors encourage mold and wood rot. Storage in these places compromises your spade’s longevity and efficiency.
V. Best Methods for Storing Your Spade
A. Importance of Off-the-Ground Storage
Keep your spade off the ground to prevent moisture absorption and blade damage. Contact with damp surfaces can quickly cause rust and promote handle decay.
B. Storage Solutions
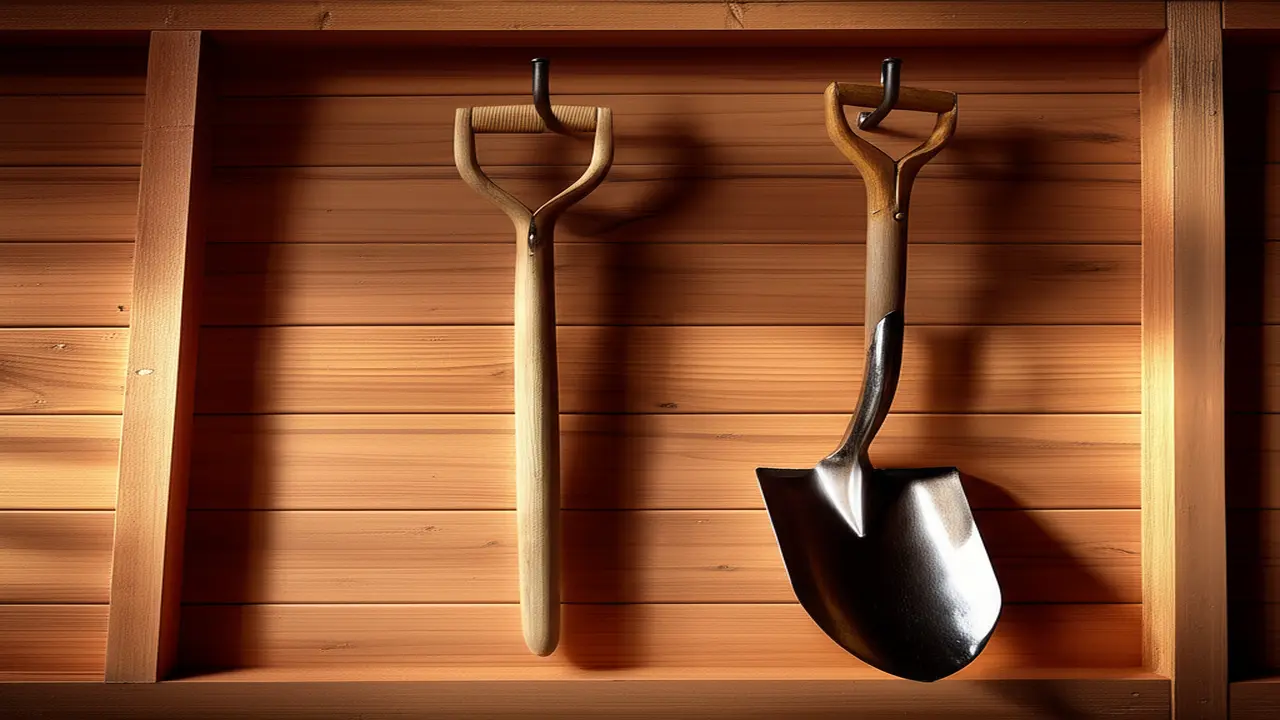
Hanging the spade is often the best method. Use J-hooks, utility hooks, or specialized racks to suspend the tool securely in a dry shed, garage, or workshop. This method reduces dirt accumulation and makes the spade easy to access.

Alternatively, standing the spade upright by leaning it against a dry wall or using a tool stand works well, provided the base remains dry and ventilated. Tool storage containers or bins can be used if they are dry, spacious, and allow air circulation.
VI. Storing Multiple Long-Handled Tools
If you have several long-handled tools like spades, forks, and rakes, organizing them vertically maximizes space and accessibility. Group tools of similar size and weight together and use wall-mounted racks or freestanding tool holders to keep everything orderly. This practice prevents damage from tools knocking together and optimizes your storage area.
VII. Quick Check Mid-Winter (Optional)
During a mild winter thaw, it’s beneficial to briefly inspect stored tools for any signs of moisture, rust, or damage. A quick wipe-down and reapplication of protective oil can prevent long-term issues and keep your spade in top shape.
VIII. Conclusion: Ready for Spring Digging!
By following these winter garden spade storage guidelines, you ensure your garden spade remains rust-free, sharp, and reliable for the next growing season. Caring for your tools during winter isn’t just about protection; it’s about maintaining readiness and efficiency, enabling your spring gardening to start smoothly and successfully. Embrace these practices to extend the life of your spade, preserve your investment, and enhance your gardening experience year after year.

