
Robotic Mower Installation Guide: DIY & Professional Tips for 2025
Embracing a robotic mower transforms lawn care with automation that saves time, ensures a consistent cut, and operates quietly. Proper robotic mower installation is foundational to unlocking these benefits, impacting performance, safety, and mower longevity. This comprehensive guide covers everything from DIY setup steps to insights on hiring professional services, plus troubleshooting and optimization tips to help you master your robotic mower in 2025.
Thank you for reading this post, don't forget to subscribe!1. Introduction: Unlocking the Future of Lawn Care
A robotic mower is an autonomous lawn mower that navigates your yard using sensors and boundary wires to maintain your grass regularly without manual effort. These devices excel in reducing your lawn maintenance time, delivering a uniform cut, and operating with minimal noise, making them ideal for modern garden management.
Getting the installation right is crucial. It ensures your mower covers the intended area efficiently, avoids hazards, and extends the machine’s lifespan. This guide provides detailed instructions for both the hands-on homeowner and those considering professional installation, covering planning, setup, troubleshooting, and post-installation care.
2. Is DIY Robotic Mower Installation Right for You?
Installing a robotic mower involves several technical steps: mapping your lawn, laying the boundary wire, positioning the charging station, and configuring the mower itself. Understanding this complexity helps decide whether to tackle the project yourself or seek expert assistance.
Choosing DIY installation offers cost savings and control over the process. However, it demands time, patience, and specific tools. Mistakes like poor wire placement can cause operational issues. Conversely, professional installation brings expertise, faster completion, and reliable setup but comes with higher costs.
If your yard features complex layouts, multiple mowing zones, or you lack the necessary tools or time, hiring professionals is often the wiser choice. For simpler lawns and those comfortable with basic electrical and landscaping tasks, DIY can be rewarding and efficient.
3. Pre-Installation Planning & Site Assessment
Successful installation starts with thorough planning. Begin by mapping your lawn, marking obstacles like trees, flower beds, slopes, and areas where signal interference could occur. Clear the lawn of debris and trim edges to create a smooth mowing path.
Selecting the right spot for the charging station is vital. Pick a flat area with easy access to a power outlet, preferably shaded to protect the station from extreme heat, and placed where the mower’s path will not be obstructed by foot traffic or pets.
4. Essential Tools & Materials Checklist
Before starting, gather the necessary tools and materials. Essential tools include wire cutters, measuring tape, hammer, screwdrivers, and a utility knife. A line trimmer can help clear grass along the wire path.
The installation kit typically includes boundary wire, pegs or staples, connectors, and the charging station. Additional supplies like a cable locator, spare wire, connectors, and weather-resistant extension cords are useful for troubleshooting and adjustments. Don’t forget safety gear such as gloves and safety glasses.
5. Step-by-Step DIY Robotic Mower Installation Guide
Phase 1: Setup Charging Station
Begin by securely mounting the charging station base on a stable surface. Connect it to the power supply following the manufacturer’s instructions. Once powered, check the indicator lights to confirm proper operation.

Phase 2: Laying the Boundary Wire
The boundary wire defines the mower’s working area by creating a closed loop signal. You can lay the wire either above ground using pegs or bury it a few inches underground for a cleaner look.
Above-ground wiring is simpler but more exposed to damage; buried wiring is protected but requires trenching. Maintain recommended spacing between wire runs to ensure strong signal integrity, especially around sharp corners, slopes, and narrow passages. Include exclusion zones to protect delicate plants and install guide wires if the mower needs to navigate tight areas.

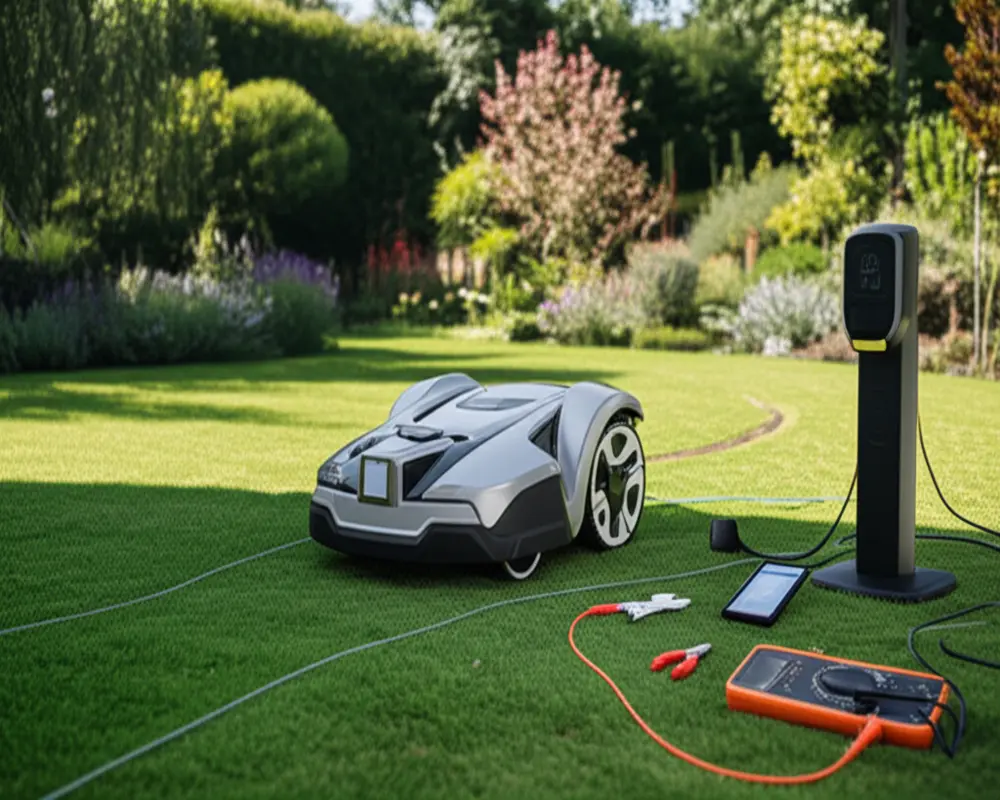
Phase 3: Connection & Boundary Loop Testing
Connect the boundary wire ends to the charging station terminals, creating a closed loop. Use a loop signal tester or multimeter to verify the current and signal strength. Watch for error codes from the mower or station indicating wire breaks, short circuits, or incorrect wiring.
Common issues include wire damage from lawn tools or pets and interference from underground utilities. Troubleshoot by locating breaks with a cable locator and repairing or replacing damaged sections promptly.

Phase 4: Initial Mower Setup
Charge your mower fully before first use. Pair it with the control app or onboard panel and configure mowing schedules and zones. Adjust the cutting height to suit your grass type and desired look. Conduct an initial test run to observe mower behavior and make any needed fine-tuning for coverage and boundary adherence.
6. Troubleshooting Common Installation Issues
No loop signal errors are often due to wire breaks or poor connections. Use a cable locator to find faults and ensure connectors are secure. If the mower gets stuck frequently, check for hidden obstacles or improper wire layout. Uneven cutting can result from dull blades or incorrectly set cutting height, while missed spots may require adjusting the boundary wire path.
If the mower does not return to the dock, inspect the guide wire and ensure the signal is uninterrupted. For wire damage, repair kits are available, and preventive measures include burying the wire and marking its path clearly.
Connectivity problems with apps can often be resolved by resetting the mower’s wireless connection or updating firmware.
7. Optimizing Robotic Mower Performance Post-Installation
Maintain your mower regularly by cleaning debris, replacing blades as they dull, and keeping software up to date. Adjust mowing frequency and cutting height with seasonal changes — grass grows faster in spring and summer and slows in fall and winter.
Advanced features like multi-zone mowing allow you to manage complex lawns efficiently. Spiral cutting and smart home integration can enhance precision and convenience. For winter, store the mower indoors in a dry, temperature-controlled environment, and disconnect the battery if recommended.
8. Professional Installation Services Overview
Professional installers provide comprehensive services including site surveys, expert wire layout, programming multi-zone mowing schedules, integrating smart systems, and thorough testing. Their expertise guarantees optimal performance, compliance with warranty terms, and saves you time and effort.
Costs vary by lawn size, complexity, number of zones, wire burial depth, and brand. Smaller lawns may cost a few hundred dollars, while large or intricate yards could exceed a thousand. To find qualified installers, seek authorized dealers, local landscaping companies, or consult directories online.
9. Frequently Asked Questions (FAQs)
- How long does installation typically take?
- DIY installation may take several hours to a full day depending on lawn size and experience. Professional installation is usually completed within a few hours.
- Can robotic mowers handle sloped yards?
- Yes, most models can manage slopes up to 20-35 degrees, but proper wire placement and mower specifications must be checked.
- How much boundary wire is needed for multiple zones?
- Each zone requires its own loop of boundary wire. The total length depends on the perimeter of each zone plus guide wires.
- What happens during a power outage?
- The mower typically pauses and resumes when power is restored. Some models have battery backup for the charging station.
- Can I move the charging station after installation?
- Yes, but you will need to reposition or extend the boundary wire and recalibrate the mower.
- How often should boundary wire be maintained?
- Inspect the wire annually for damage or wear, especially after landscaping or construction work.
10. Conclusion: Enjoy Your Effortless Lawn
Proper robotic mower installation is the key to a beautifully maintained lawn with minimal effort. Whether you choose to install it yourself or hire professionals, careful planning, precise wire layout, and attentive troubleshooting ensure your mower runs smoothly and efficiently.
With routine maintenance and seasonal adjustments, your robotic mower will provide reliable service year-round, freeing you from manual mowing and enhancing your garden’s appeal. Embrace the future of lawn care and enjoy the effortless, consistent results that a well-installed robotic mower brings.
For further insights on garden tools and maintenance techniques, explore our detailed guides on hand cultivator tines and lawn mower troubleshooting.
Explore expert resources on professional installation and troubleshooting from LawnStarter and HomeRobotExpert.
Seasonal care advice is available at GardeningKnowHow.