
1. The Importance of Pruning Shears Maintenance
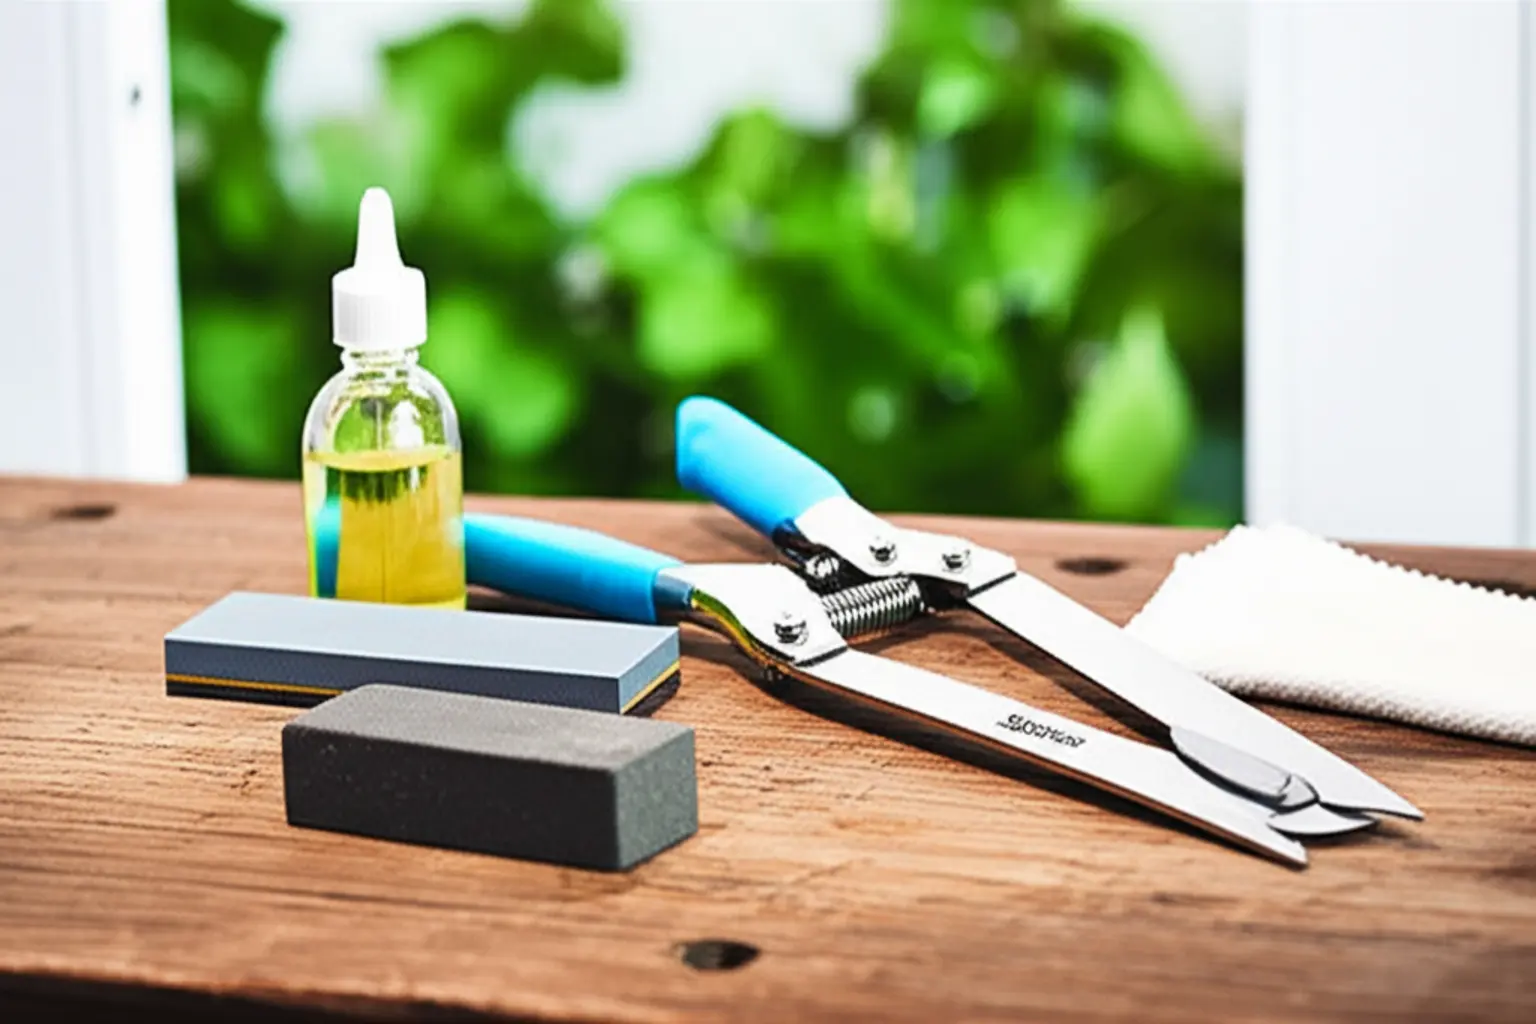
2. Essential Tools for Pruning Shears Maintenance
* Cleaning Supplies: You will need a stiff brush or a scouring pad to remove dried sap and dirt. Isopropyl alcohol or a specialized blade cleaner on a clean rag works perfectly for disinfecting and wiping away residue.
* Sharpening Tools: A diamond file or a carbide sharpener is essential for restoring a keen edge to the blades. For detailed instructions on getting the perfect angle, review our guide on how to sharpen pruning shears.
* Lubricating Oil: Use a quality lubricant like linseed oil or a Teflon-based spray to protect the blades from rust and ensure the pivot moves smoothly.
* Protective Gear: Always wear a sturdy pair of work gloves to protect your hands from cuts during cleaning and sharpening.
* Adjustment Tools: Keep a screwdriver or a nut driver handy to tighten or loosen the central pivot nut as needed.
3. Routine Pruning Shears Care: After Every Use
Follow this simple but crucial process:
* Wipe Down Blades: Use an old rag or a sturdy paper towel to immediately wipe off all plant residue, sap, and soil from the blades. For very sticky resin, like from pine trees, a cloth lightly dampened with rubbing alcohol or mineral spirits is highly effective.
* Dry Completely: This step is non-negotiable. Go over the entire tool, including the handles and pivot joint, with a clean, dry cloth. Storing shears even slightly damp is the fastest way to ruin them. For more advanced methods, you can review our dedicated guide on pruning shears cleaning.
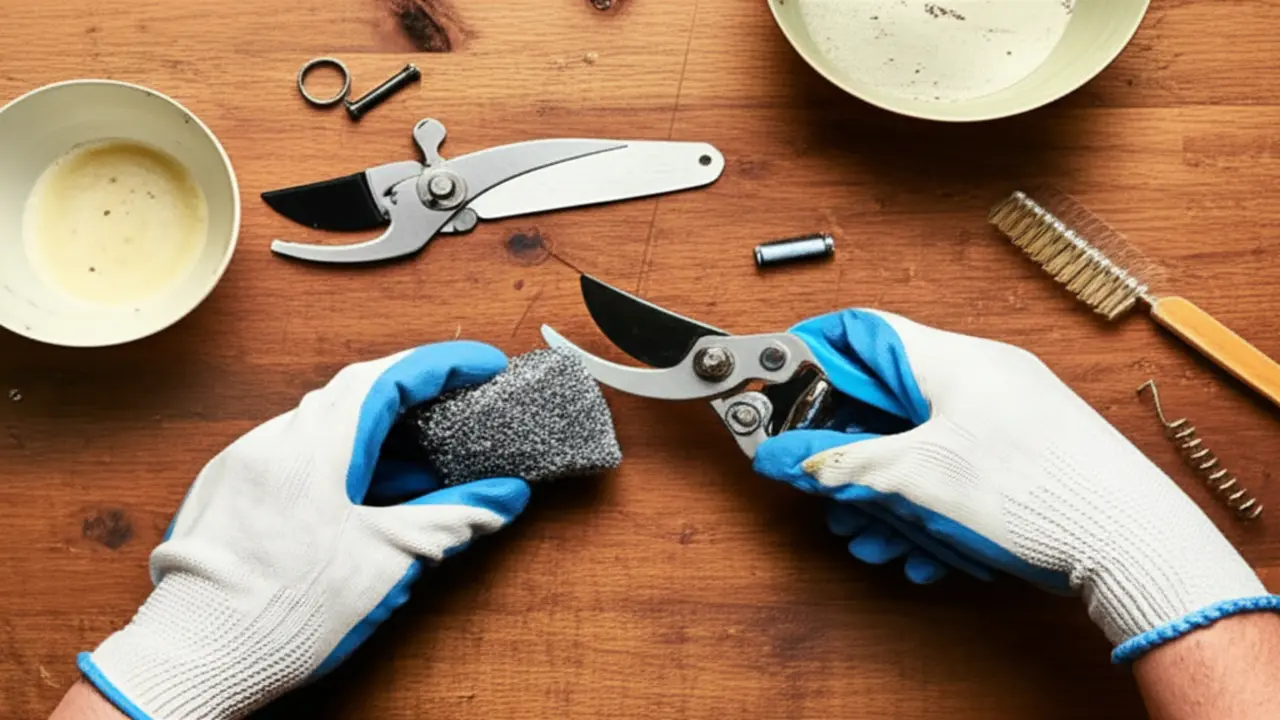
4. Deep Cleaning: Seasonal and Periodic Maintenance
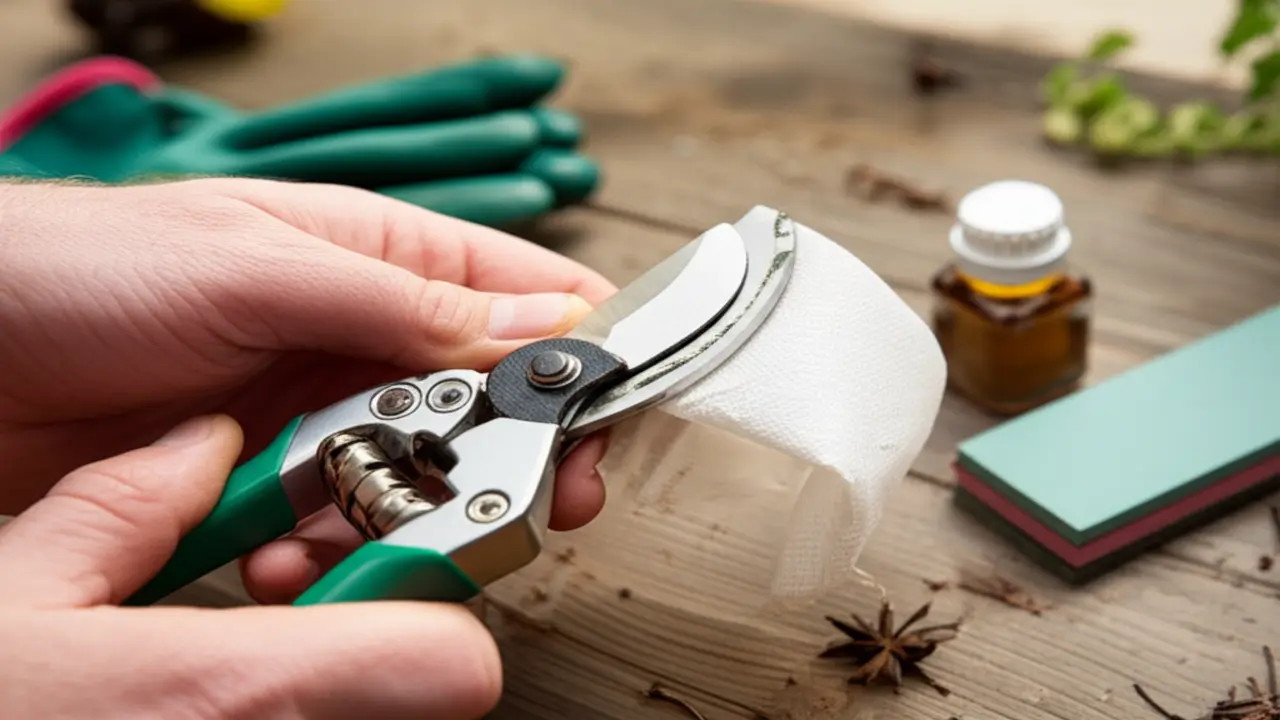
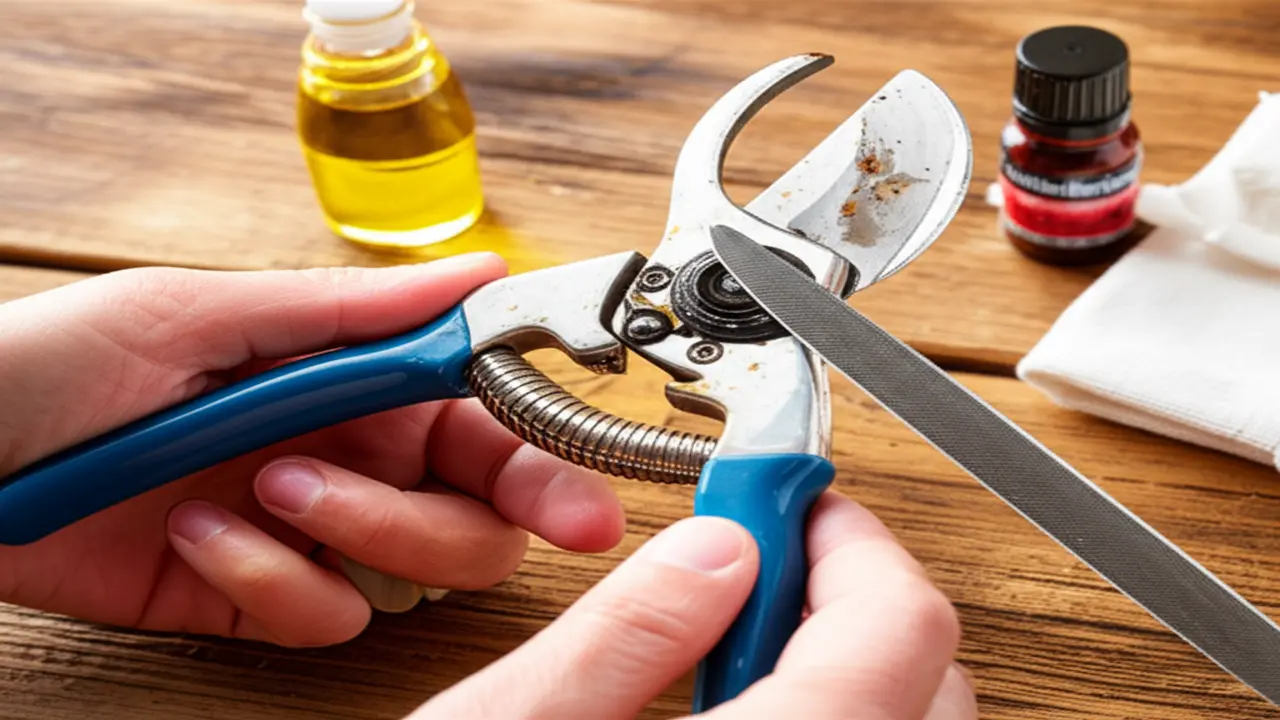
5. Sharpening Your Pruning Shears
* Diamond files: Offer aggressive, fast sharpening.
* Whetstones (sharpening stones): Require water or oil but provide a very fine, polished edge.
* Carbide sharpeners: Compact and easy to use, perfect for quick touch-ups in the field.
The core technique involves following the existing bevel on the cutting blade. Secure the shears firmly and draw your sharpener across the beveled edge, moving from the base toward the tip in a single, smooth stroke. Usually, 10 to 20 strokes are sufficient. It is critical to only sharpen the outside of the blade and then remove the resulting metal burr from the flat backside. For a complete tutorial, see our guide on how to sharpen pruning shears with detailed instructions.
6. Lubrication: Keeping Moving Parts Smooth
To apply, add a few drops directly to the central pivot point. Open and close the shears multiple times to work the oil deep into the joint. Then, put a small amount of oil on a clean rag and wipe a thin, even coat over the entire surface of both blades. This not only lubricates the cutting edge but also creates a barrier against moisture and corrosive sap, keeping your shears in peak condition.

7. Preventing Rust and Corrosion

8. Disinfection for Disease Prevention
The process is simple but effective. After removing any visible debris, wipe the blades with a cloth soaked in a disinfectant like 70% isopropyl alcohol or a 1:9 bleach-to-water solution. This step is most critical after cutting away diseased branches or when working on multiple different species in one session. Consistent sterilization is the cornerstone of responsible gardening and effective pruning shears cleaning, ensuring your tools help your plants thrive instead of inadvertently harming them.
9. Troubleshooting Common Pruning Shears Issues
* Sticky or Gummy Blades: Plant sap and resin are the usual culprits. This buildup not only makes cutting difficult but can also harbor diseases. A thorough cleaning after each use is the best prevention. For a detailed guide, check our tips on pruning shears cleaning.
* Dullness and Ragged Cuts: If your shears are crushing stems instead of slicing cleanly, the blades are dull. This is more than an annoyance, it damages your plants. Sharpening them restores the edge for healthy cuts.
* Squeaking and Stiff Joints: A high-pitched squeak or stiff cutting action usually means dirt has worked its way into the pivot joint or it lacks lubrication. Disassemble the joint if possible, clean it, and apply a drop of all-purpose oil.
* Poor Spring Action: If the shears don’t spring back open, the spring might be clogged, weak, or misaligned. Clean the spring and its housing, and check the tension to ensure a smooth, responsive action.
10. Frequently Asked Questions (FAQs) on Pruning Shears Maintenance
* How frequently should I sharpen my pruning shears?
The ideal frequency depends on how much you use them. For an avid gardener pruning weekly, a light sharpening every four to six weeks is recommended. For more casual use, sharpening at the beginning and end of the gardening season is usually enough. The best indicator is performance. if you notice the blades are tearing stems instead of making clean cuts, it is time to sharpen them.
* What is the best way to remove stubborn sap and rust?
For sticky tree sap, a cloth dampened with a solvent like rubbing alcohol or turpentine works wonders. For light rust, gently scrub the affected area with fine-grade steel wool and a few drops of lubricating oil. The key to avoiding these issues is prevention, which involves regular pruning shears cleaning after every use.
* How should I store my shears during the off-season?
Proper storage prevents degradation. Before putting them away for winter, clean and sharpen your shears one last time. Apply a thin coat of camellia oil or a similar lubricant to all metal surfaces to prevent corrosion. Finally, lock the blades shut and store them in a dry, protected environment like a shed drawer or a dedicated toolbox.