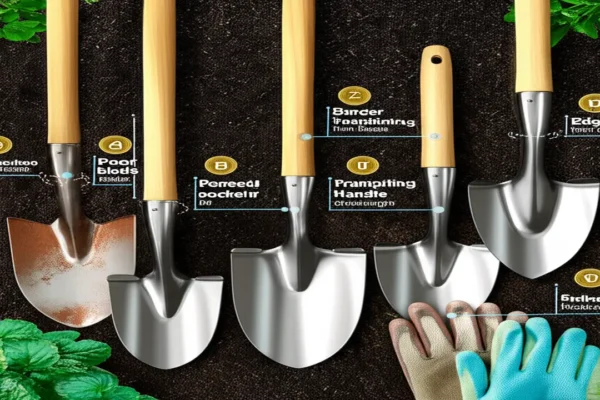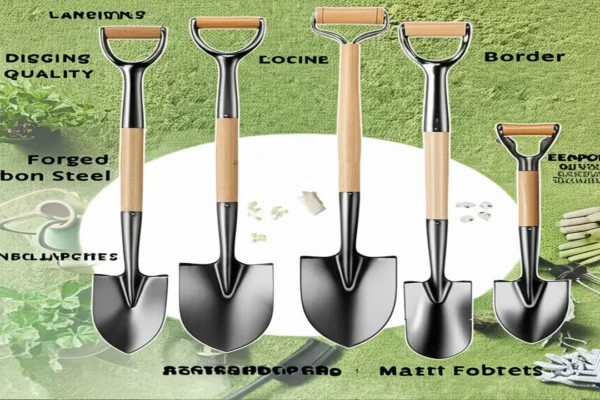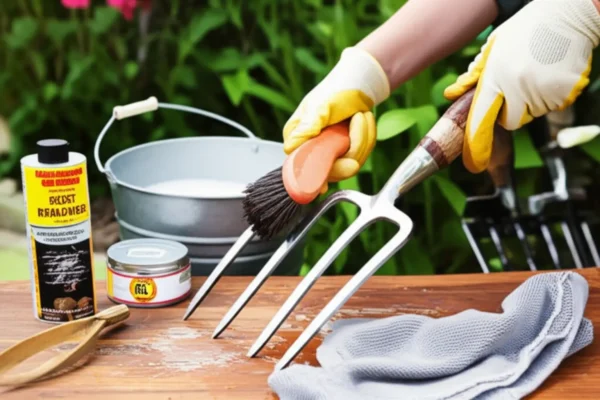
1. Tools and Materials Needed for Pruning Shears Blade Replacement
Contents
- 1 1. Tools and Materials Needed for Pruning Shears Blade Replacement
- 2 2. Step-by-Step Guide to Replacing Pruning Shears Blades
- 3 3. Selecting the Right Replacement Blade
- 4 4. Maintenance After Pruning Shears Blade Replacement
- 5 5. Where to Purchase Replacement Pruning Shears Blades
- 6 6. Troubleshooting Common Issues in Pruning Shears Blade Replacement
- 7 7. Additional Tips for Extending the Life of Your Pruning Shears
– Screwdrivers: Both flathead and Phillips screwdrivers are vital for removing and securing blade screws.
– Wrenches or adjustable spanners: Needed to loosen or tighten nuts that hold blade components.
– Lubricants: Use penetrating oils or silicone lubricants to ease movement and prevent rust on moving parts.
– Cleaning supplies: Brushes and cloths help remove sap and debris before installation, ensuring clean contact surfaces.
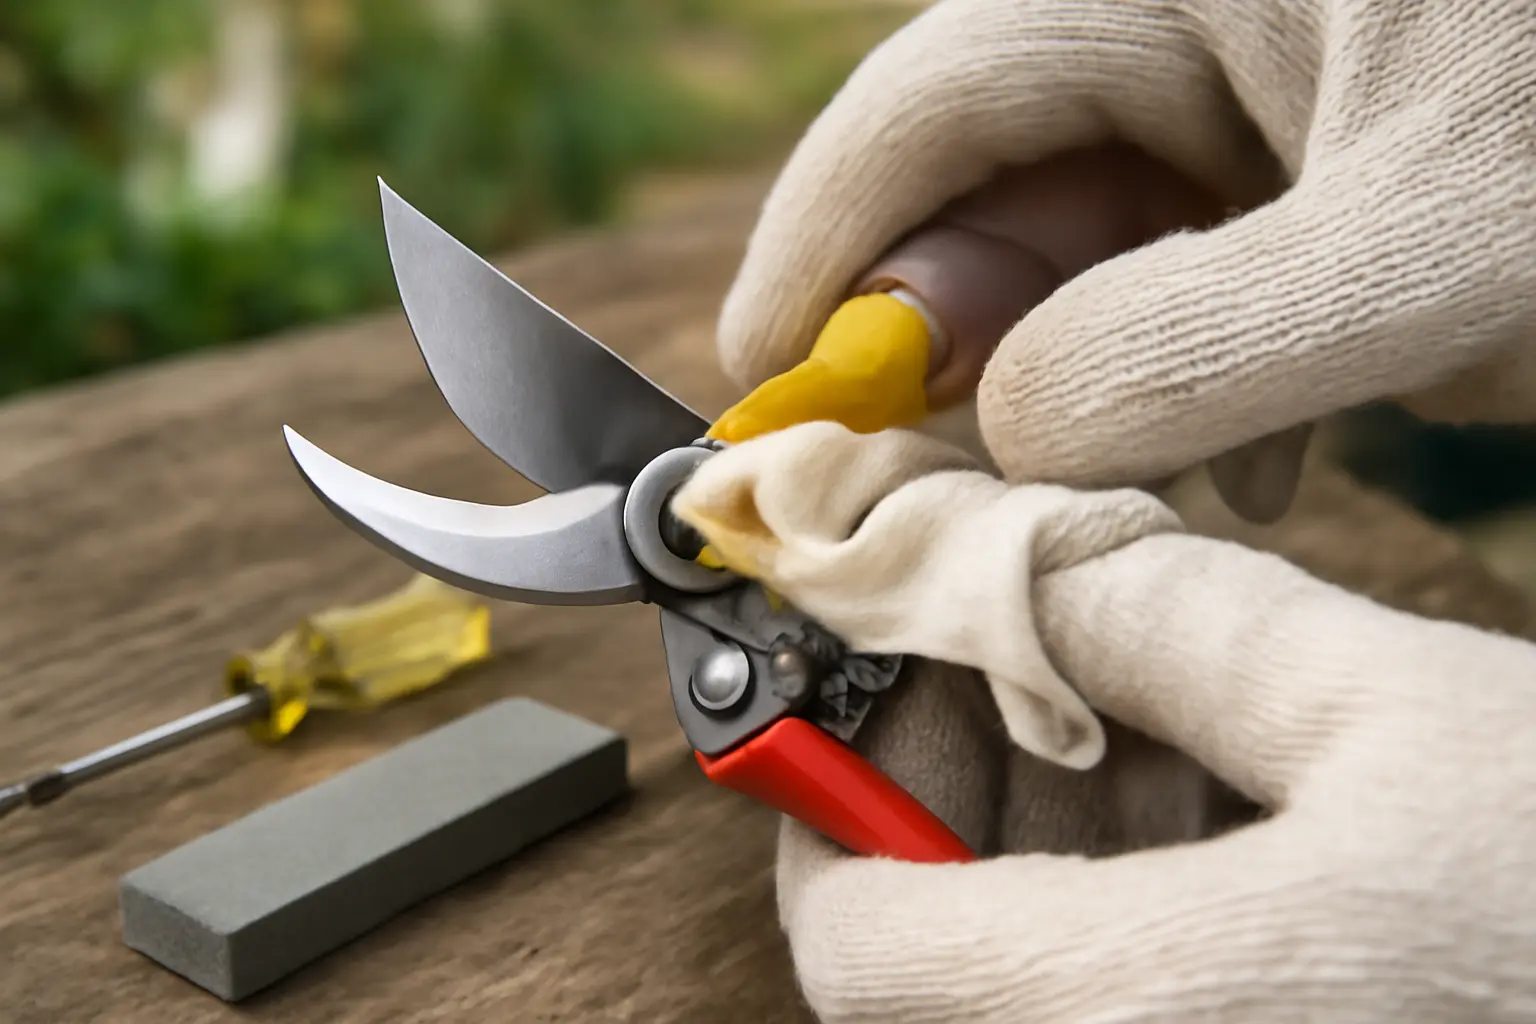
Each tool contributes to a smooth, damage-free blade swap. For example, using the correct screwdriver size prevents stripping screws, which could complicate the replacement. Equally important is wearing safety gear like gloves and eye protection to shield against accidental cuts or debris during disassembly.
Understanding the function of these tools supports a confident and efficient blade replacement, prolonging the pruning shears’ lifespan and optimizing performance for precise garden trimming.
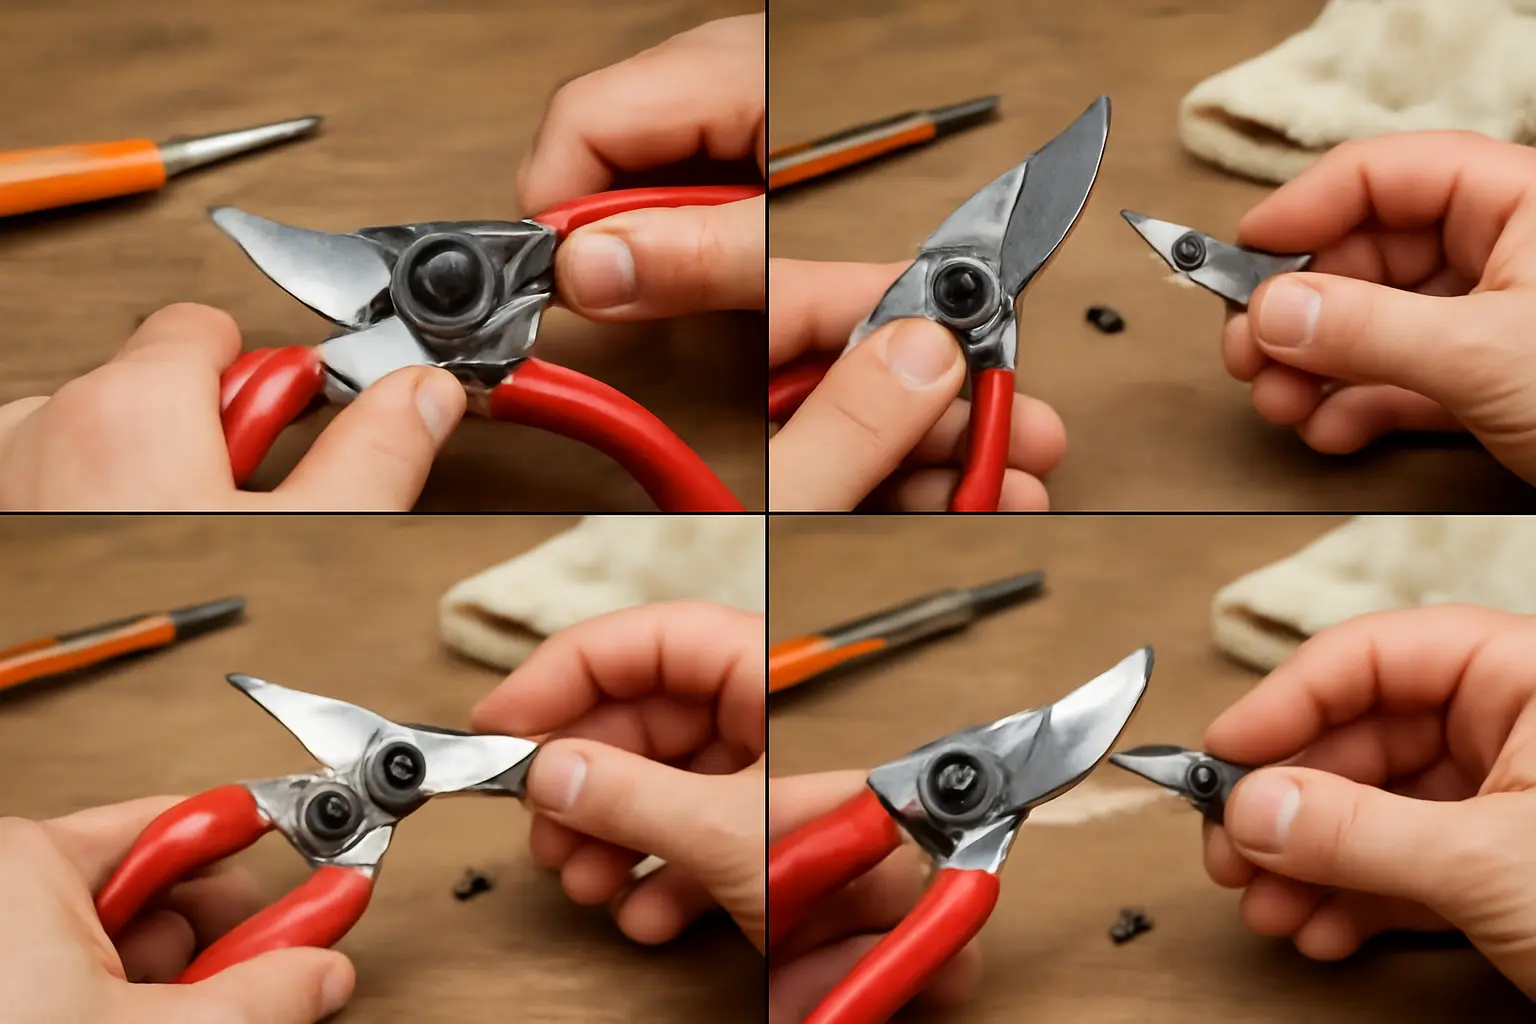
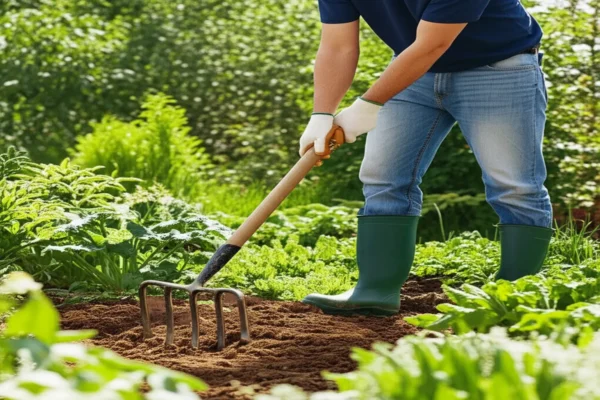
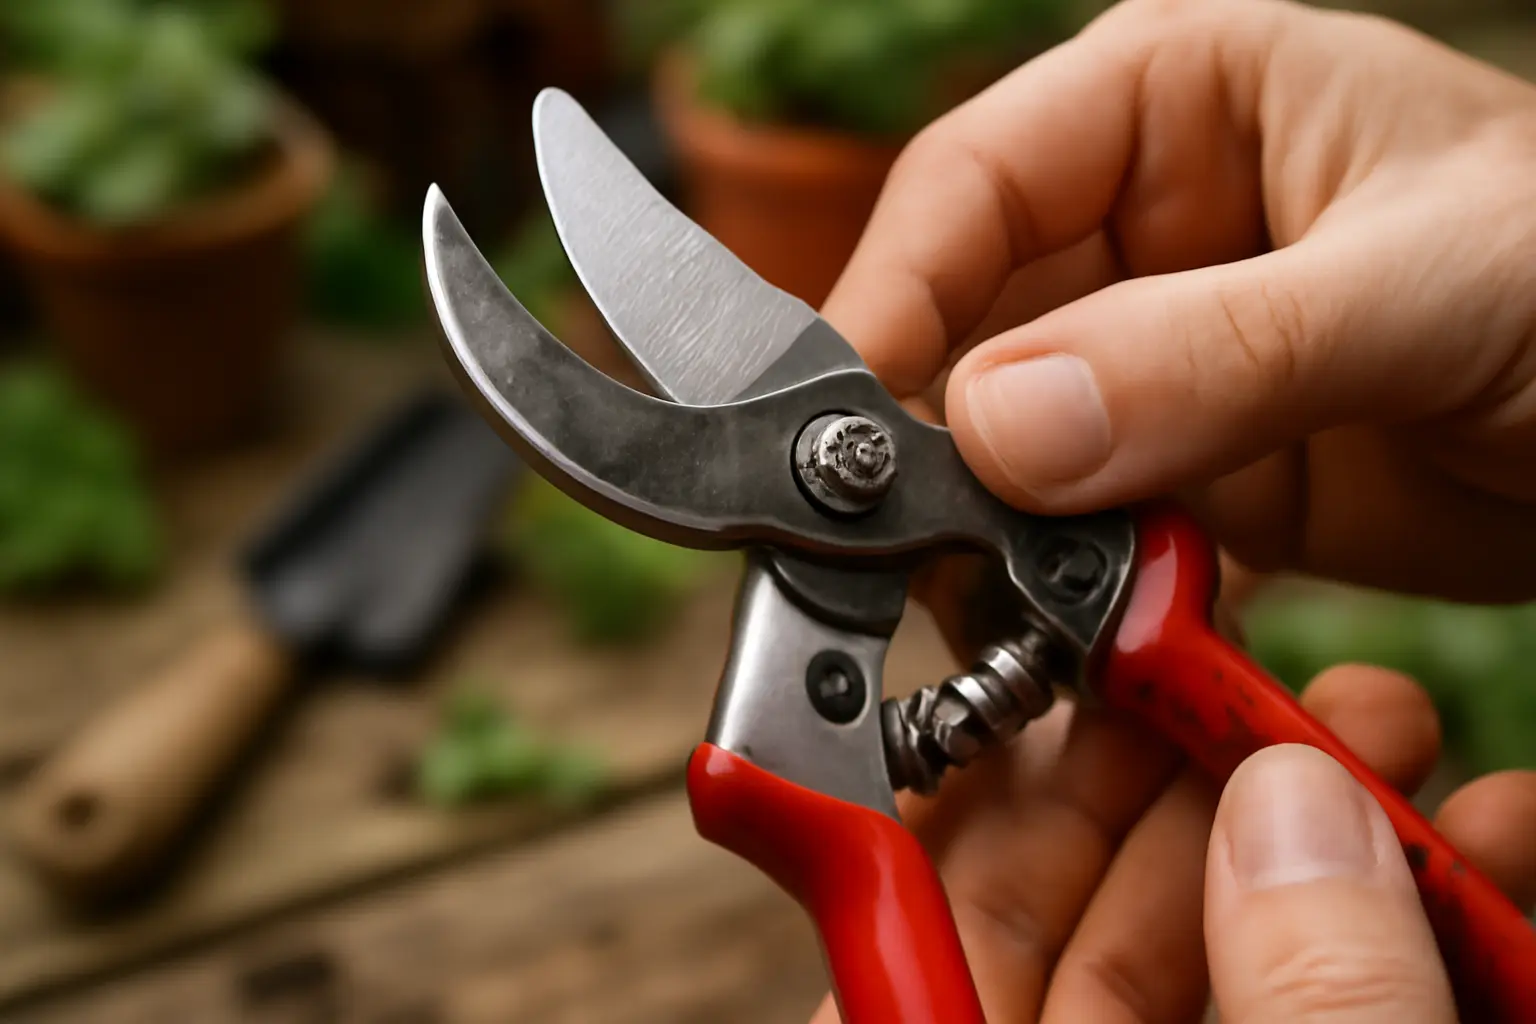
2. Step-by-Step Guide to Replacing Pruning Shears Blades
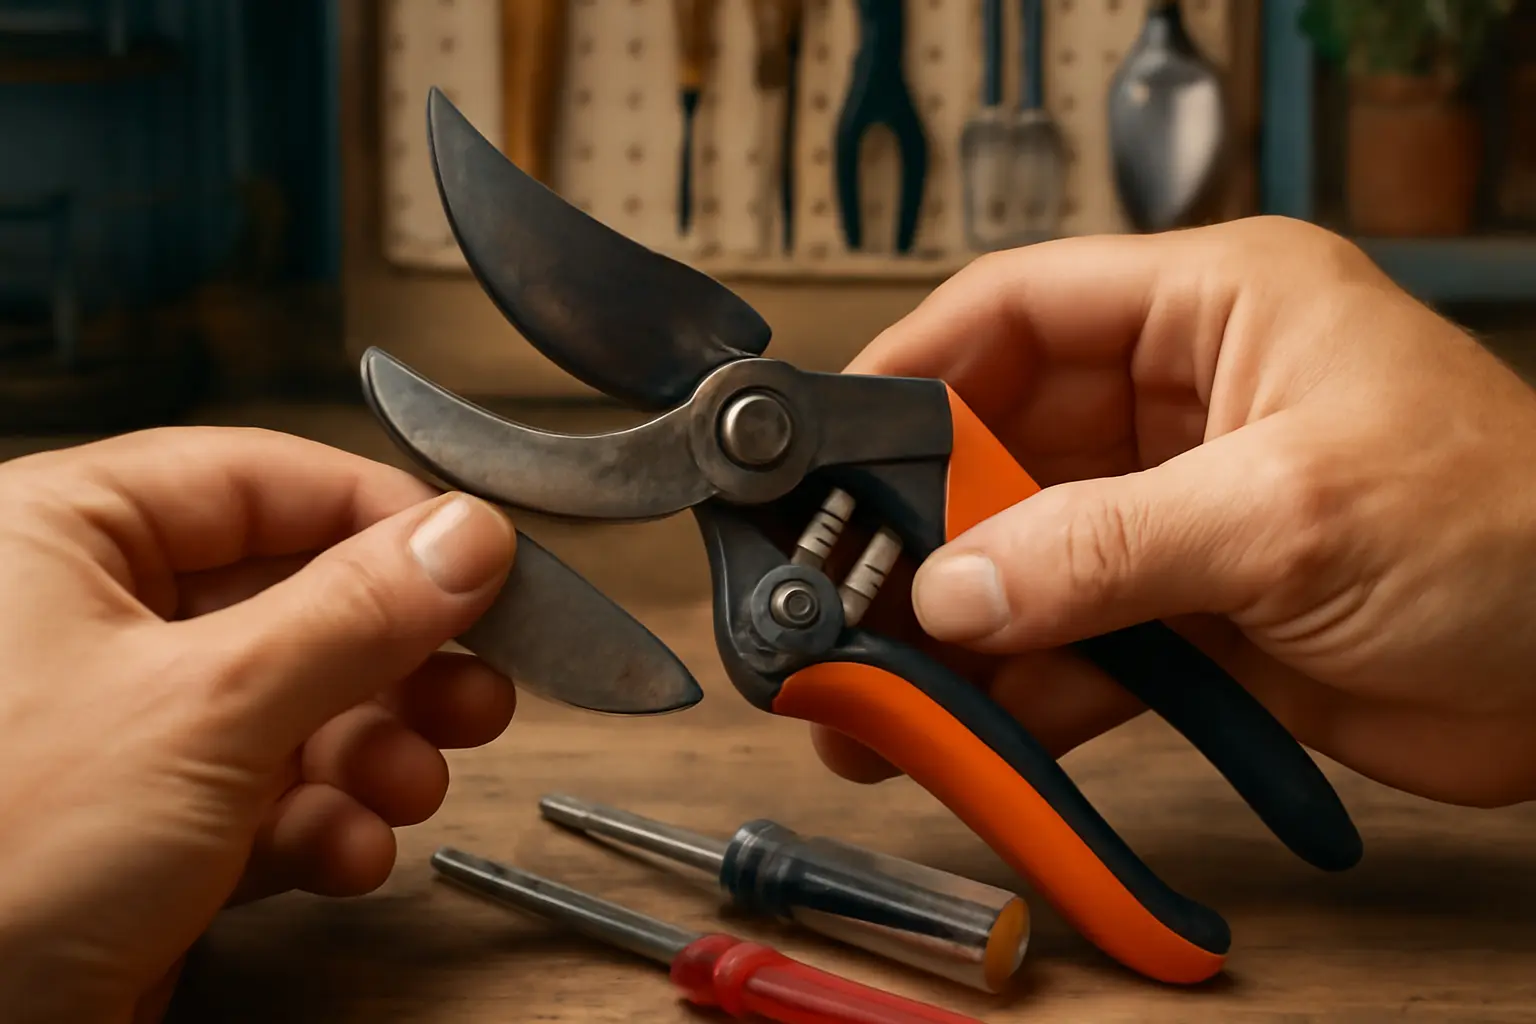
Next, align the new blade precisely in its original position. Proper alignment is critical to avoid uneven cuts or damage to the shear mechanism. Secure the screws tightly but avoid overtightening, which can hinder smooth blade movement. After installation, check blade tension by opening and closing the shears a few times; the blade should move easily without wobbling. Balancing the blades ensures consistent cutting efficiency and prolongs tool life.
A practical tip: perform this blade replacement in a well-lit area and consider wearing gloves to protect your hands. Many gardeners find it helpful to keep a spare set of screws or small replacement parts nearby, since these can be lost easily during the process. Regular inspection after replacement guarantees your pruning shears remain sharp and reliable for all your gardening tasks.
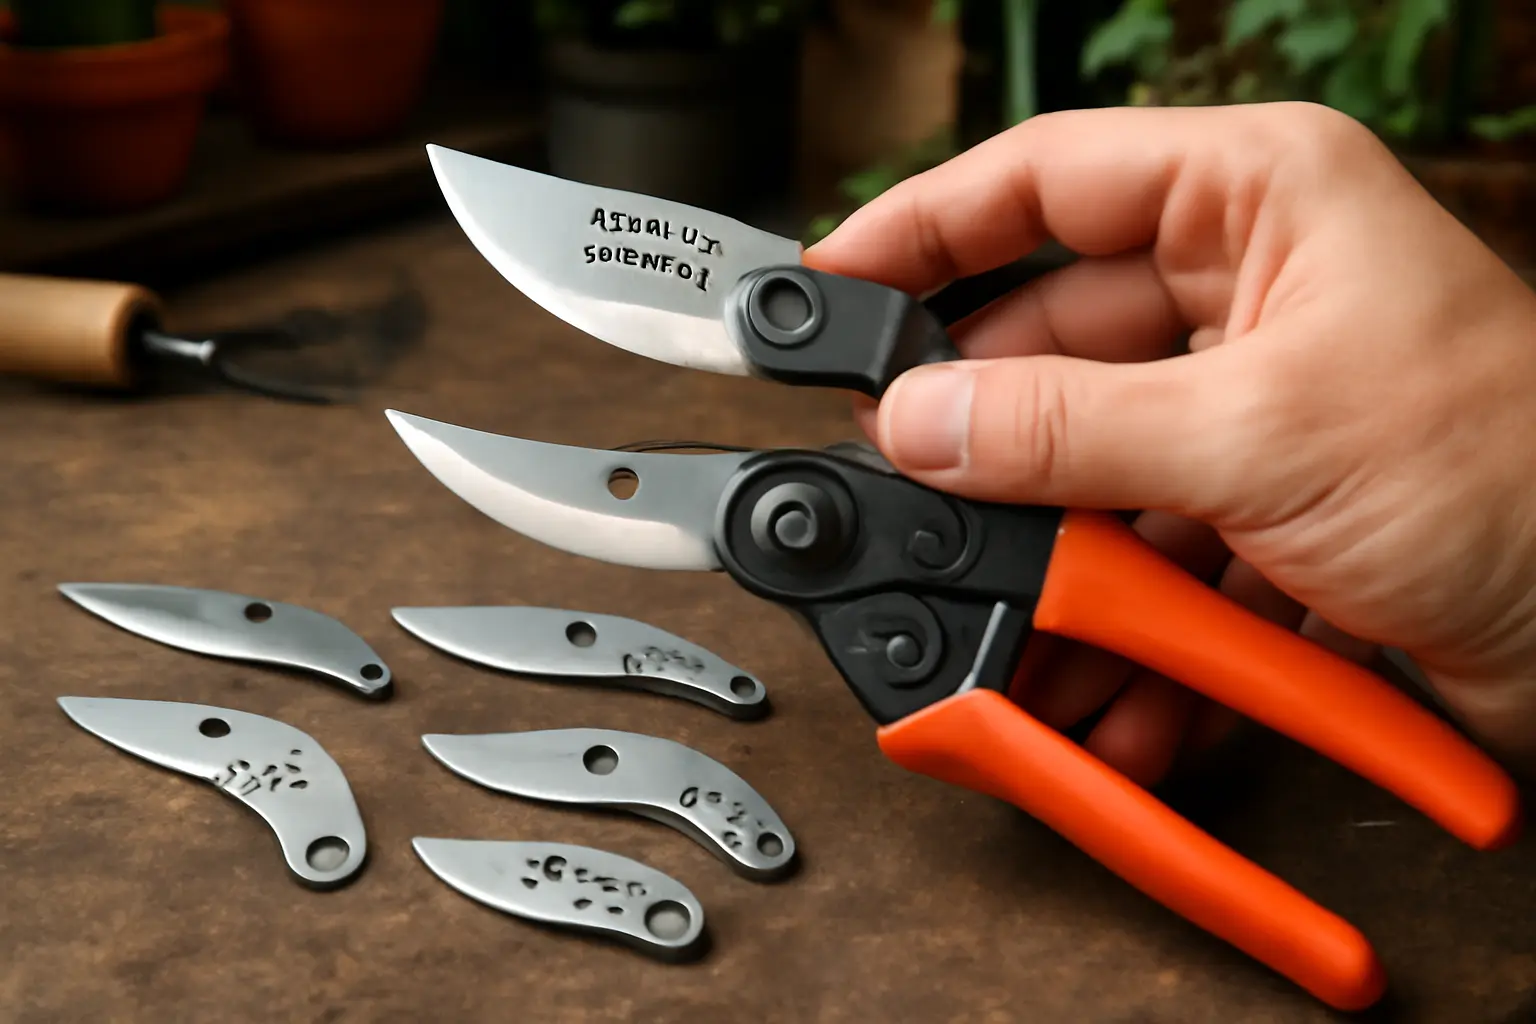
3. Selecting the Right Replacement Blade
4. Maintenance After Pruning Shears Blade Replacement
Adjusting blade tension is crucial; overly tight blades cause difficulty in cutting, while loose ones reduce precision and increase wear. Regularly check tension by opening and closing the shears — resistance should be firm but not stiff. Maintaining sharpness will keep cuts clean, promoting healthier plant growth. Sharpen blades as needed using a whetstone or diamond sharpener, but only after confirming replacement blades are installed correctly.
Best storage practices protect your investment. Store pruning shears in a dry place, preferably hung or in a sheath, avoiding damp conditions that accelerate rust. Periodic inspection for rust or damage ensures timely intervention and safer use. Proper care after pruning shears blade replacement keeps your garden tools reliable for many seasons.
5. Where to Purchase Replacement Pruning Shears Blades
Beware of suspiciously low prices that may indicate poor quality or counterfeit products. Many reputable sellers provide warranties or satisfaction guarantees, which add value beyond the initial price. Before finalizing a purchase, reading customer reviews can reveal real-world performance and help avoid costly mistakes.
Consider these key points when buying replacement blades:
– Confirm the blade model suits your pruning shears for proper fit and safety.
– Look for sellers offering warranty coverage or return policies.
– Check if the blade comes pre-sharpened or requires maintenance.
– Factor in shipping time, especially if ordering from overseas.
By focusing on these criteria, gardeners can confidently invest in pruning shears blade replacements that maintain tool efficiency and extend their lifespan.
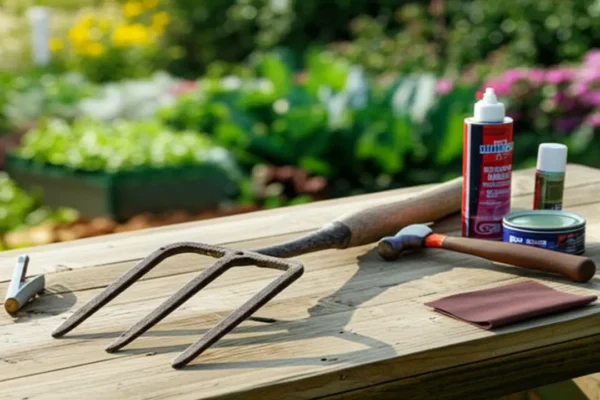
6. Troubleshooting Common Issues in Pruning Shears Blade Replacement
Disassembly and reassembly problems are frequently encountered by those not experienced with pruning tools. To ease this process, always refer to the manufacturer’s guide for your specific model. Using the right screwdriver or wrench size prevents stripping bolts and ensures proper fitment. If blades resist removal, applying a penetrating lubricant and tapping gently with a soft mallet can help free stuck parts.
Frequently asked questions often cover when to replace versus sharpen blades, handling corrosion, and lubricating joints. Experts advise replacing blades when nicks or bends are too severe for sharpening, cleaning blades immediately after use to prevent rust, and routinely oiling all moving parts to maintain fluid operation. Addressing these common troubleshooting points ensures pruning shears perform effectively, prolonging tool life and improving garden maintenance outcomes in 2025 and beyond.
7. Additional Tips for Extending the Life of Your Pruning Shears
Adjust your care based on seasonal use and exposure; for instance, pruning shears used heavily in wet conditions require more frequent drying and oiling to stave off corrosion. As environmental factors vary, tailor your maintenance to those specifics for maximum tool longevity.
Safety is paramount. Always wear gloves when handling shears to avoid cuts, and disable spring mechanisms before cleaning or adjusting blades. Regular blade sharpening not only improves cutting performance but also prevents unnecessary strain on joints, extending the overall durability of the tool.
In summary, these additional tips—routine cleaning, seasonal adjustments, and strict safety protocols—form a comprehensive approach that minimizes pruning shears blade replacement frequency while ensuring safe and efficient gardening work.