
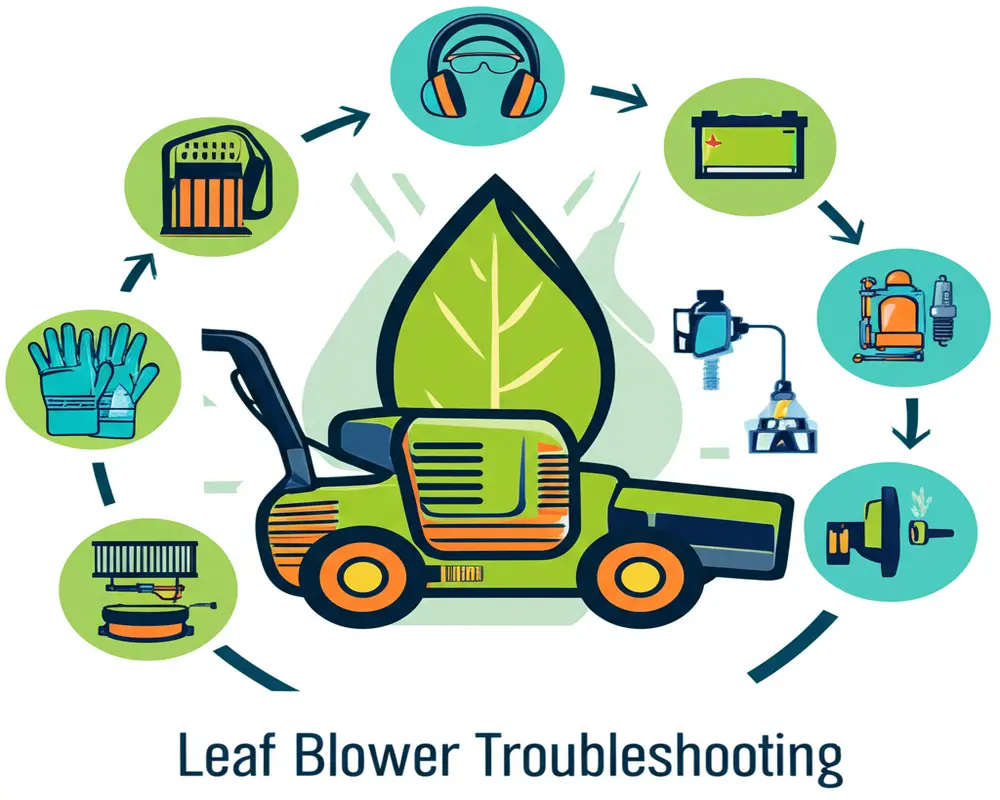
Leaf Blower Troubleshooting: The Ultimate DIY Guide
I. Introduction
Leaf blower troubleshooting is an essential skill for anyone who depends on these powerful tools for yard maintenance. Whether you use a gas or electric model, understanding how to diagnose common issues can save you significant time and money. This guide is designed to walk you through symptom-based diagnostics, safe fixes, and routine maintenance, helping you get your blower running smoothly again.
Leaf blowers typically encounter issues related to fuel, spark, airflow, or electrical components depending on the type. Problems can range from a simple clogged air filter to more complex carburetor malfunctions. This guide adopts a structured approach, helping you identify symptoms and apply the correct remedy, regardless of your mechanical experience.
Safety is paramount when working with leaf blowers. Both gas and electric models have their hazards — fuel handling, electrical shocks, hot parts, and moving components. We emphasize proper precautions throughout, ensuring you address problems without risk.
A. Why Troubleshoot Leaf Blowers?
Troubleshooting your leaf blower not only restores its function but extends its lifespan. Many common failures are avoidable with timely intervention. By approaching problems methodically, you avoid costly repairs or replacements. Even minor fixes, such as carburetor cleaning or spark plug replacement, can return your blower to peak performance.
B. Safety Emphasis
Before starting any repair, wear appropriate personal protective equipment (PPE) — gloves, eye protection, and hearing protection are essential. For gas models, disconnect the spark plug to prevent accidental starting. For electric blowers, unplug the device or remove the battery. Always allow the engine to cool before working on it to avoid burns. Work in a well-ventilated area and keep a fire extinguisher handy when dealing with fuel.
C. How to Use This Guide
This guide follows a symptom-based flow. Begin with quick checks to diagnose the issue, then move to detailed inspections or repairs as needed. Apply the steps according to your blower’s model and type, referencing your owner’s manual for specifics. The troubleshooting flowchart and component deep dives offer structured paths to resolve common problems efficiently.
II. Before You Start: Essential Preparations & Safety First
A. Safety Always
Begin by disconnecting the spark plug wire if you own a gas leaf blower or unplugging the power cord for electric models. This eliminates the risk of accidental startup. Ensure the engine or motor is cool before handling. Work outdoors or in a ventilated workspace to avoid inhaling fumes or dust. Keep a fire extinguisher near your work area, especially when working with fuel. PPE such as gloves, safety glasses, and hearing protection should be worn to guard against injuries.
B. Gather Your Tools
Prepare basic hand tools like screwdrivers, pliers, and wrenches. Specialty tools such as spark plug testers or carburetor cleaning kits may be necessary. Have cleaning supplies ready, including brushes, carburetor cleaner, and compressed air. Diagnostic tools like voltmeters or battery testers are helpful for electric blower issues.
C. Identify Your Leaf Blower Type
Knowing whether you have a gas or electric blower, and the specific subtype, is crucial. Gas blowers may be two-stroke or four-stroke engines, affecting fuel and lubrication requirements. Electric blowers can be corded or cordless, with differing power sources and maintenance needs. This distinction guides the troubleshooting path.
D. Owner’s Manual Reference
Always consult your model’s owner’s manual for specifications such as torque settings, carburetor type, and ignition system details. Manuals often include wiring diagrams and part numbers, valuable for repairs or ordering replacement components.
III. General Troubleshooting Flowchart: Your Diagnostic Strategy
A. Gas Engine Basics: Fuel, Air, Spark
Gas leaf blowers rely on three fundamental elements: fuel, air, and spark. Issues typically stem from one or more of these areas. Check fuel quality and flow, inspect fuel lines and filters, and ensure carburetor function. Air intake must be unobstructed with a clean air filter. The spark plug and ignition coil must deliver consistent sparks for combustion.
B. Electric Blower Basics: Power, Motor/Impeller
Electric blowers depend on a steady power supply and a properly functioning motor and impeller. For corded models, examine the power cord and breaker. For cordless, assess battery health and charging status. The motor’s bearings and impeller should be free of debris and damage to maintain airflow.
C. Diagnostic Mindset
Start with simple checks: fuel presence, power connections, and visible obstructions. Document symptoms clearly and use checklists to avoid overlooking components. Proceed systematically to isolate the root cause.
IV. Common Problems & Solutions (Symptom-Based)
A. Gas – Won’t Start
1. Old/Bad Fuel
Symptoms include engine cranking without ignition. Gasoline degrades over time, especially when mixed improperly or stored long. Drain old fuel and replace it with fresh, properly mixed fuel (especially for 2-stroke engines). This often resolves starting issues.
2. Clogged Fuel Filter
A blocked fuel filter restricts fuel flow, causing the engine to stall or not start. Inspect and replace the filter if dirty or damaged.
3. Fouled Spark Plug
A spark plug covered in carbon deposits or oil fouling will not spark efficiently. Remove the plug, clean it with a wire brush, or replace if necessary. Set the correct gap per your manual, typically around 0.020 inches.
4. Clogged Air Filter
A dirty air filter chokes the engine’s air supply, leading to poor combustion. Clean or replace the filter regularly to maintain airflow.
5. Carburetor Issues
Carburetor problems cause rough running or no start conditions. Cleaning involves disassembling the carburetor, removing deposits with carburetor cleaner, and possibly rebuilding with new gaskets and jets. Adjust idle and mixture screws to manufacturer specs.

6. Faulty Primer Bulb/Fuel Lines
Cracks or leaks in the primer bulb or fuel lines disrupt fuel delivery. Replace damaged components to restore proper fuel flow.
7. Ignition Coil (Rare)
If no spark is present after plug and wire checks, test the ignition coil and replace if defective.

8. Spark Arrestor Clog
Carbon buildup in the spark arrestor screen can cause poor engine performance. Remove and clean it with a wire brush regularly.
9. Low Compression
Compression issues require professional repair. Symptoms include difficulty starting and lack of power.
B. Gas – Won’t Start (Electric Start Systems)
Electric start models may fail due to battery or starter motor issues. Check battery charge and starter function.
C. Electric – Won’t Start
1. No Power (Corded)
Inspect the power cord for damage and ensure the circuit breaker is not tripped. Test the outlet with another device.
2. Battery Issues (Cordless)
Check battery charge and replace old batteries showing diminished capacity.
3. Motor Overload/Thermal Cutoff
Overheating may trigger a thermal cutoff. Allow the motor to cool and inspect for debris blocking airflow.
4. Internal Wiring/Switch Fault
Faulty switches or wiring can prevent startup. Repair requires electrical knowledge; seek professional help if unsure.
D. Starts then Dies / Runs Rough / Power Loss
Investigate fuel quality, air filter condition, and spark plug health first. Carburetor settings and vacuum leaks can cause erratic running. Inspect the impeller for obstructions reducing airflow.
E. Smoking / No/Weak Airflow / Noisy Operation
1. Smoking: White, Blue, Black
White smoke indicates coolant or water contamination; blue suggests oil burning; black smoke reflects a rich fuel mixture. Each requires different remedies, often linked to carburetor or engine issues.
2. Airflow Reduction Causes
Blocked intake, damaged impeller, or clogged exhaust reduce airflow. Clean and inspect these parts regularly.

3. Unusual Noises
Loose fasteners or worn bearings cause rattling or squealing. Tighten bolts and replace bearings as needed.
F. Fuel Leaks
Inspect for cracked fuel lines, leaking caps, or carburetor gaskets. Replace faulty parts promptly to prevent hazards.
V. Component Deep Dives & Advanced Troubleshooting
A. Carburetor Cleaning & Rebuild
Disassemble the carburetor carefully, noting the position of jets and screws. Use carburetor cleaner spray to dissolve deposits. Replace worn gaskets and any damaged components. Adjust idle and mixture screws according to the manual for optimal performance.
B. Ignition System Testing (Gas)
Test the spark plug using a spark tester. Inspect plug wires for cracks or corrosion. Test the ignition coil resistance with a multimeter, and check the flywheel key for damage or misalignment.
C. Fuel System Maintenance
Regularly clean the fuel tank to remove sediment. Replace fuel lines every couple of years or if brittle. Test the primer bulb for leaks and replace if necessary to ensure proper fuel priming.
D. Muffler & Spark Arrestor Maintenance
Carbon deposits in the muffler and spark arrestor can restrict exhaust flow. Remove and clean these components with a wire brush or replace if severely clogged.
E. Starter Rope / Recoil Repair
Broken or frayed pull cords should be replaced promptly. Follow safety precautions when disassembling the recoil starter to avoid injury from the spring tension.
VI. Preventative Maintenance
A. Fuel Management
Use fresh fuel mixed correctly with 2-stroke oil where applicable. Add fuel stabilizers if storing for more than 30 days. Drain fuel before off-season storage to prevent gum buildup.
B. Filter Care
Clean or replace air and fuel filters regularly. A clean filter ensures proper airflow and fuel delivery, reducing engine strain.
C. Spark Plug Check
Inspect spark plugs every season and replace them if fouled or worn. Correct gap settings are critical for efficient ignition.
D. General Cleaning
Keep your blower free from debris buildup, especially around the impeller and air intakes. Regular cleaning prevents overheating and maintains airflow efficiency.
E. Winterization/Off-Season Storage
Properly shut down your blower by running the engine dry of fuel or draining the tank. Store in a dry place, protected from extreme temperatures to avoid damage.
VII. When to Call a Professional
A. Know Your Limits
Complex engine repairs or electrical faults may require specialized tools and expertise. If troubleshooting steps do not resolve the issue, or you feel uncertain, seek professional assistance to avoid injury or damage.
B. Cost-Benefit Analysis
Sometimes, repair costs exceed the value of the blower, especially for older models. Evaluate whether replacement is more economical.
C. Finding a Reputable Service Center
Look for certified technicians with positive reviews. Local garden equipment shops often provide reliable repair services. Use resources like eReplacementParts and Repair Clinic for parts and repair guidance.
VIII. FAQ
A. Common Questions
Q: Why won’t my gas leaf blower start easily?
A: Check fuel quality, spark plug condition, and carburetor cleanliness. Old fuel and fouled plugs are common causes.Q: How often should I replace the spark plug?
A: Replace spark plugs annually or after 100 hours of use, whichever comes first. Inspect regularly for fouling.Q: What type of oil should I use?
A: Use the oil recommended in your owner’s manual. For 2-stroke engines, mix fuel with the correct oil ratio.Q: How do I clean the carburetor?
A: Disassemble and soak parts in carburetor cleaner, then rinse and dry thoroughly before reassembly.
IX. Conclusion
A. Recap & Key Takeaways
Leaf blower troubleshooting is a practical skill that empowers you to maintain your equipment effectively. By understanding your blower’s components and common symptoms, you can diagnose and solve many problems yourself. Prioritize safety, follow systematic checks, and use quality replacement parts to ensure reliable operation.
B. Maintenance Mindset for Longevity
Routine maintenance, including proper fuel management, filter care, and timely component replacement, extends the life of your leaf blower and enhances performance. This preventative approach minimizes repair costs and downtime, keeping your yard work efficient and effective year-round.
For related insights on garden tools and equipment, visit our Black & Decker leaf blower review and explore backpack leaf blower options.