Leaf Blower Primer Bulb: Troubleshooting, Replacement & Care
Introduction
The leaf blower primer bulb is an essential component of the carburetor fuel system, responsible for priming the engine with fuel to ensure reliable starts. Understanding its function, diagnosing common problems, replacing the part, and maintaining it properly can save you time and money in 2025 and beyond. This comprehensive guide offers a detailed look into the primer bulb’s role, symptoms of failure, step-by-step replacement instructions, and care tips to extend your leaf blower’s engine life. Whether you’re a seasoned DIYer or a beginner, this article empowers you to troubleshoot and maintain your leaf blower efficiently.
By the end of this guide, you will confidently identify primer bulb issues, select the correct replacement parts, execute safe and effective replacements, and implement maintenance routines to prevent future problems. Let’s dive into the mechanics and practicalities of this small yet critical component.
Understanding the Primer Bulb: Function, Variants & Identification
What is a Primer Bulb?
A primer bulb is a small, flexible rubber or plastic bulb located on the fuel system of a leaf blower. Its primary function is to draw fuel from the tank and push it into the carburetor to create the necessary pressure that enables the engine to start smoothly. When you press the primer bulb, it helps remove air pockets and ensures fuel reaches the carburetor jets for ignition. This straightforward mechanism is crucial for reliable engine starts, especially in cold or idle conditions.
How it Works
The operation of a primer bulb follows a simple sequence: when pressed, the bulb creates suction that draws fuel through the fuel line into the bulb chamber. Upon release, the bulb pushes fuel into the carburetor, priming the engine. This cycle allows the engine to have enough fuel to ignite when you pull the starter cord. If the bulb becomes cracked, stiff, or develops leaks, it cannot create the necessary fuel pressure, leading to starting problems.
Types & Sizes
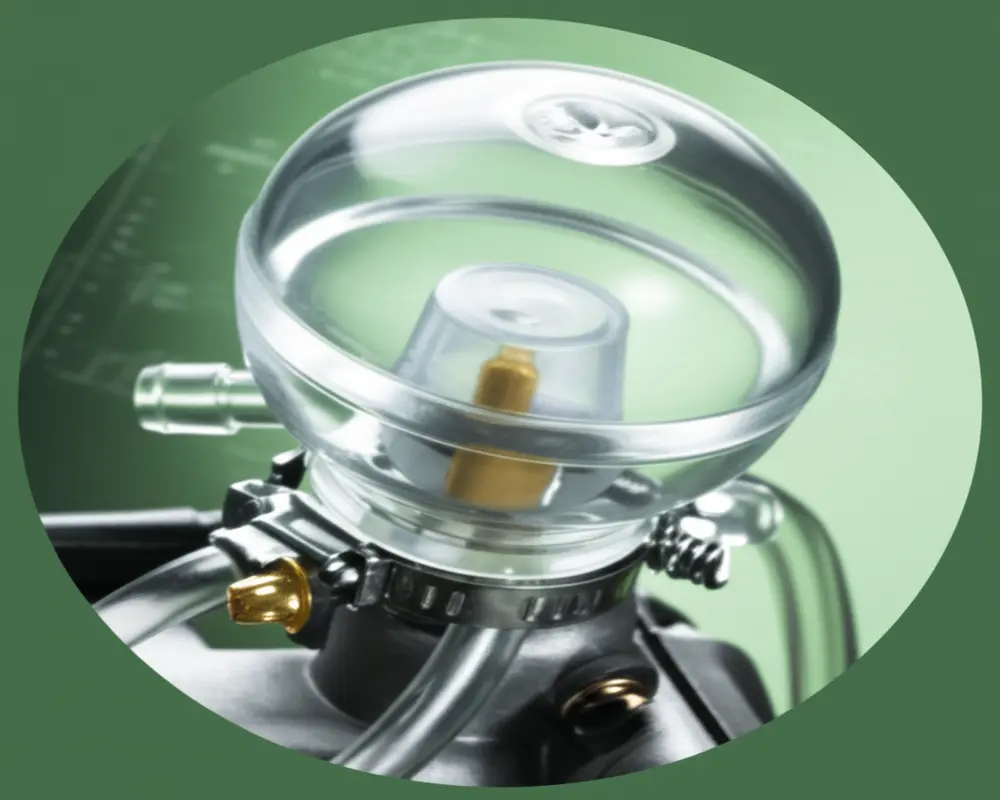
Primer bulbs come in various shapes, sizes, and materials. Some are clear, allowing visual inspection of fuel flow, while others are opaque. The base and connector designs differ according to manufacturer and model, affecting compatibility. Measuring the base diameter and stem length accurately ensures the replacement bulb fits correctly. Universal primer bulbs exist and can fit multiple models, but for optimal performance and reliability, OEM (Original Equipment Manufacturer) bulbs are recommended when possible.
Visual & Identification Cues
Identifying a primer bulb typically involves comparing the old bulb with the new one by matching inlet and outlet orientations, bulb color, and base shape. Taking pictures of the old bulb before removal can help during replacement. Look closely for fuel line connections and mounting clips to ensure proper installation of the new bulb.
Diagnosing Primer Bulb Issues: Is It Really the Bulb?
Symptoms of a Failing Primer Bulb
Common signs indicating primer bulb problems include:
- Visible cracks or brittleness in the bulb material
- Bulb failing to return to its original shape after being pressed
- Fuel leaks around the bulb area
- Engine refuses to start even after priming attempts
- Engine starts briefly but dies soon after
- No fuel movement observed inside the bulb when pressed
These symptoms usually indicate that the bulb no longer creates sufficient pressure or a proper seal.

Diagnostic Flowchart / Checklist
Follow this diagnostic process to isolate primer bulb issues:
- Ensure the fuel tank contains fresh fuel.
- Inspect fuel lines for cracks, blockages, or disconnections.
- Check the fuel filter for clogging or debris.
- Press the primer bulb and observe fuel movement.
- Listen for any air leaks around the bulb or carburetor.
- If the bulb appears intact but issues persist, consider carburetor problems that can mimic primer bulb failure.
Safety & Precautions
When working with the fuel system, always disconnect the spark plug to prevent accidental engine starts. Wear personal protective equipment (PPE), including gloves and eye protection, and perform repairs in a well-ventilated area. Handle fuel carefully to avoid spills and fire hazards.
Pro Tips & Common Mistakes
Avoid over-tightening clamps on fuel lines, which can damage the bulb or lines. Do not assume the primer bulb is the sole cause of starting problems; inspect fuel lines and tank venting as well. Remember, a good bulb alone does not guarantee proper fuel flow if other components are compromised.
Finding the Right Replacement Primer Bulb
Why Accurate Identification Matters
Installing the wrong primer bulb can cause poor fit, fuel leaks, or continued engine starting failures. Non-OEM parts may save money initially but can result in performance issues or faster wear. Accurate identification ensures the replacement bulb matches your leaf blower’s specifications for durability and function.
Key Information to Collect
When sourcing a replacement bulb, gather these details:
- Brand and model number of your leaf blower
- Original part number of the primer bulb
- Bulb diameter and stem length measurements
- Orientation of inlet and outlet ports
- Whether the kit includes fuel lines, filters, and clamps
OEM vs Universal
Universal primer bulb kits can fit various models and are useful for quick fixes or budget solutions. However, OEM bulbs offer guaranteed compatibility and often include additional parts for a complete replacement. For high-performance or commercial use, OEM is advised.
Where to Buy
Authorized dealers, reputable online retailers like eReplacementParts, Repair Clinic, and PartSelect, as well as local hardware stores, are reliable sources. Always verify compatibility with your specific leaf blower model before purchasing.
What’s in a Primer Bulb Kit?
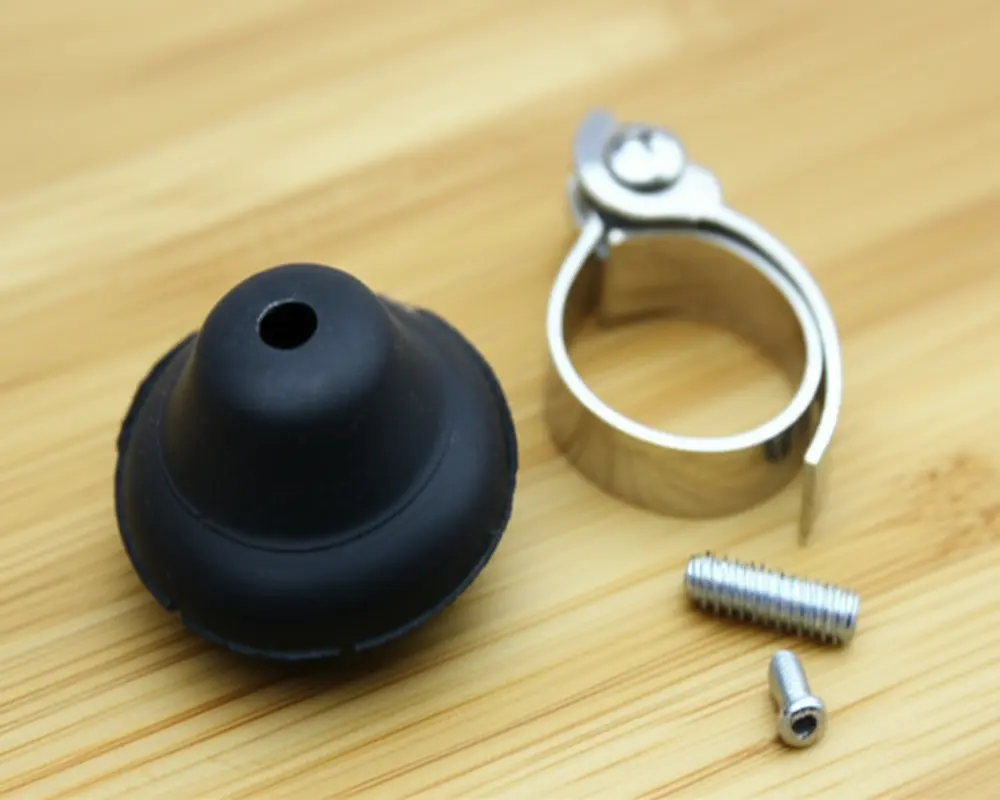
Typical kits include the primer bulb itself, replacement fuel lines, fuel filters, and clamps. Assess the kit for completeness and compatibility to ensure a smooth replacement process without additional trips for parts.
Step-by-Step Replacement Guide: Replacing Your Leaf Blower Primer Bulb
Tools & Materials
Prepare these tools and materials before you begin:
- Screwdriver for removing covers and clamps
- Pliers for handling clamps
- Replacement primer bulb kit
- Fuel-safe rags and a container to catch spills
- Camera or smartphone to document steps (optional but helpful)
Preparation
Before replacement, drain the fuel tank if recommended by your model’s manual. Disconnect the spark plug wire to prevent accidental starts. Remove the air filter housing or other components obstructing access to the primer bulb. Photograph the setup to assist with reassembly.
Replacement Steps
Follow these steps for replacement:
- Locate the primer bulb on the carburetor assembly.
- Label the fuel lines connected to the bulb to remember inlet and outlet orientation.
- Loosen clamps and carefully remove the old primer bulb.
- Clean the mounting area to remove dirt or debris.
- Install the new primer bulb, ensuring it matches the original inlet/outlet configuration.
- Reattach fuel lines securely and tighten clamps without over-tightening.
- Reassemble the air filter housing and any other removed parts.

Post-Installation Checks
Check for fuel leaks around the bulb and lines. Prime the engine slowly, pressing the bulb a few times to ensure fuel movement. Start the engine and observe cold-start behavior. Confirm there is no fuel odor or dripping, which may indicate loose fittings.
Troubleshooting After Replacement
If the engine still fails to start, recheck fuel line routing and clamps. Inspect the carburetor seals and air intake for leaks or blockages. Secondary fuel system issues may require carburetor cleaning or servicing.
Common Mistakes During Primer Bulb Replacement
Top Mistakes to Avoid
Common errors include:
- Reversing fuel line orientation, causing improper fuel flow
- Ignoring brittle or cracked fuel lines that may leak
- Forcing the new bulb into place, risking damage
- Skipping proper reassembly and safety checks
- Overlooking potential carburetor problems that affect starting
How to Prevent These
Replace related fuel hoses during bulb replacement. Inspect all clamps and fittings for wear. Test-fit the bulb before fully assembling. Always perform safety checks by disconnecting the spark plug and working in a ventilated space.
Maintaining Your Leaf Blower’s Fuel System for Longevity
Fuel & Storage Practices
Use fresh fuel with the correct oil mix for two-stroke engines. Add fuel stabilizers if storing the leaf blower for extended periods to prevent fuel degradation. Store the equipment in a cool, dry place away from direct sunlight and temperature extremes.
Routine Maintenance
Regularly replace fuel filters and inspect fuel lines each season for cracks or stiffness. Service the carburetor when you notice erratic engine behavior or starting difficulties. These steps keep the fuel system clean and efficient.
Prevention Schedule
Perform seasonal fuel system checks, including primer bulb inspection, filter replacement, and fuel line condition. Replace the primer bulb and fuel lines every 1-2 years or as recommended by the manufacturer. Adhering to this schedule reduces unexpected failures and extends engine life.

Frequently Asked Questions (FAQ)
Are primer bulbs universal?
Some primer bulbs are designed as universal replacements, fitting multiple models. However, many leaf blowers require model-specific OEM bulbs for proper fit and performance.
How often should you replace the primer bulb?
Typically, replacement every 1-2 years is advisable, or sooner if you notice cracks, leaks, or starting issues.
Can you fix a cracked primer bulb?
Repairing a cracked primer bulb is not recommended as it compromises fuel pressure and safety. Replacement is the best solution.
What if my leaf blower still won’t start after replacing the primer bulb?
Check for fuel line blockages, carburetor issues, and air leaks. Other fuel system components or ignition parts may require inspection.
What is the difference between a primer bulb and a carburetor?
The primer bulb is a component that primes the carburetor by pushing fuel into it. The carburetor mixes fuel and air for combustion inside the engine.
Troubleshooting by Brand/Model
Husqvarna
Husqvarna leaf blowers often have a clear primer bulb for easy inspection. Ensure the bulb matches the OEM part number for the model year. Some models require bulb and fuel line kits for proper replacement.
Echo
Echo models may have primer bulbs integrated with specific fuel line connectors. Follow manufacturer instructions closely to maintain warranty and performance.
Ryobi
Ryobi cordless leaf blowers generally do not use primer bulbs but electric fuel pumps. For gas models, check bulb orientation carefully during replacement.
Stihl
Stihl primer bulbs tend to be opaque. Replacement typically involves a kit with fuel lines and clamps; ensure all components are replaced to avoid leaks.
Visual Aids & Video Resources
How-to Videos and Diagrams
For a visual guide on diagnosing and replacing your leaf blower primer bulb, consult online tutorials on platforms like WikiHow and manufacturer websites.
Image Placements
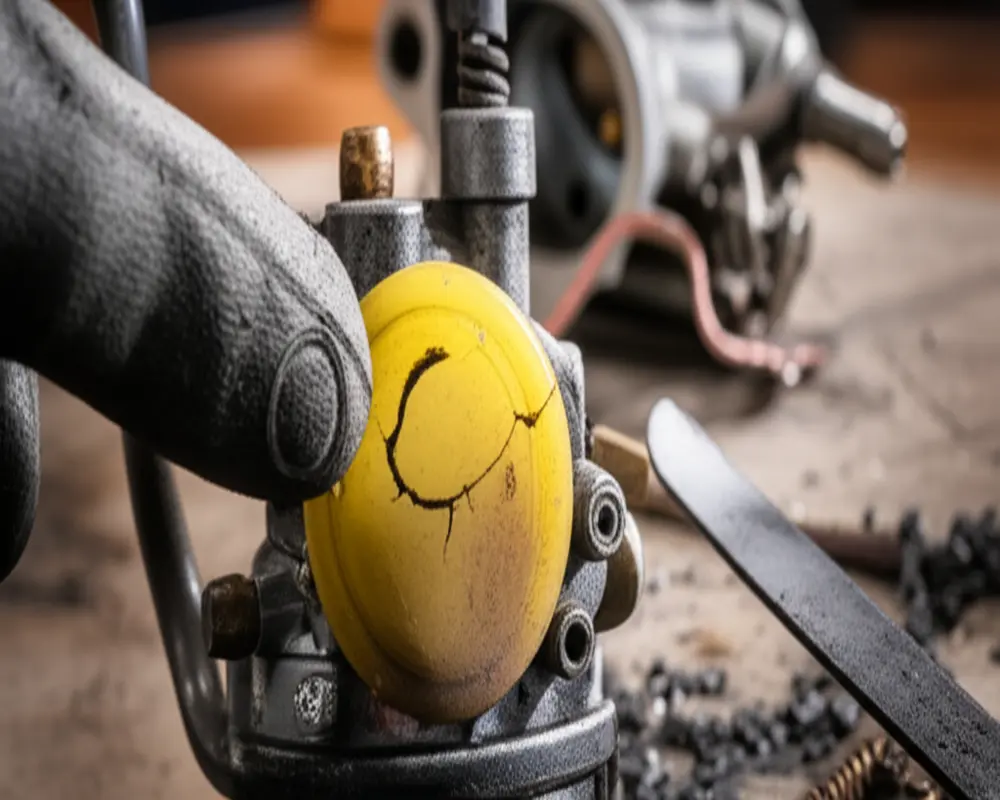
- Diagnosing Primer Bulb Issues: leaf-blower-primer-bulb-diagnosis.webp – Shows cracked bulb and fuel lines.
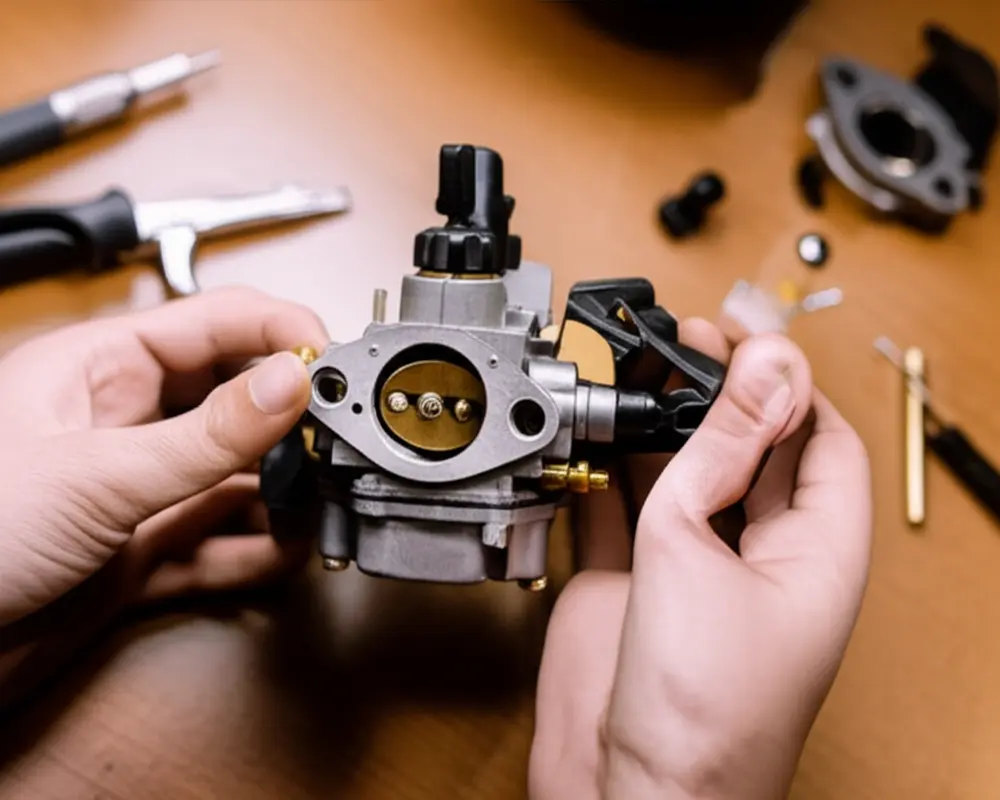
- Replacing the Primer Bulb: leaf-blower-primer-bulb-installation.webp – Demonstrates installing new bulb on carburetor.
- Maintenance & Checks: leaf-blower-primer-bulb-assembly.webp – Assembly with new bulb and clamps.
For Readers Who Want Quick Action: Quick Reference Checklist
This one-page checklist helps you swiftly diagnose and replace your leaf blower primer bulb:
- Check fuel level and quality.
- Inspect primer bulb for cracks or brittleness.
- Examine fuel lines and filters for damage or clogging.
- Gather replacement kit matching your model’s specs.
- Disconnect spark plug and prepare tools.
- Remove old bulb and clean mounting area.
- Install new bulb with correct inlet/outlet orientation.
- Reassemble and test for leaks and engine start.
- If issues persist, check carburetor and air intake.
External Resources & Further Reading
Curated Authoritative Sources
- eReplacementParts – Genuine parts for many brands.
- Repair Clinic – Repair guides and parts.
- PartSelect – OEM replacement components.
- WikiHow – Step-by-step repair tutorials.
For further information about leaf blower troubleshooting, visit our detailed guide on leaf blower won’t start.
Conclusion: Get Your Leaf Blower Back in Action
Understanding your leaf blower primer bulb is the key to quick diagnostics and effective repairs. With the right knowledge, tools, and replacement parts, you can restore your leaf blower’s starting reliability without costly service calls. Follow the step-by-step guidance, maintain your fuel system regularly, and ensure you use compatible parts for the best performance. Now, take control of your leaf blower’s upkeep and enjoy efficient yard work all year round.

