
Hand Cultivator Soil Testing: Essential Guide for Healthy Garden Soil
Understanding the foundation of a flourishing garden begins beneath the surface – in the soil itself. A garden’s success hinges on the condition and composition of its soil, which dictates plant health and yield. Hand cultivator soil testing emerges as a practical, hands-on approach connecting precise soil analysis with effective soil cultivation.
Thank you for reading this post, don't forget to subscribe!This guide unpacks the essential connection between soil testing techniques and hand cultivation benefits, delineating clear steps for preparing garden beds, accurately sampling soil, deciphering test results, and applying amendments using a hand cultivator. By integrating these methods, gardeners can sustainably optimize garden soil health for the 2025 growing season and beyond.
Understanding Soil Testing: Why It’s Indispensable for Every Gardener
Soil testing provides critical data about your garden’s foundation. Laboratories analyze samples primarily for pH levels, macro-nutrients such as nitrogen (N), phosphorus (P), and potassium (K), organic matter content, and essential micronutrients. Regular testing enriches your gardening strategy by enabling informed decisions on nutrient management and amendment application — helping prevent waste and inefficiency.
It’s important to clarify that while hand cultivators assist in managing soil texture and integrating amendments, they are not tools for gathering soil samples but play a crucial role in the preparation and treatment phases.
The Hand Cultivator: Your Versatile Partner in Soil Management
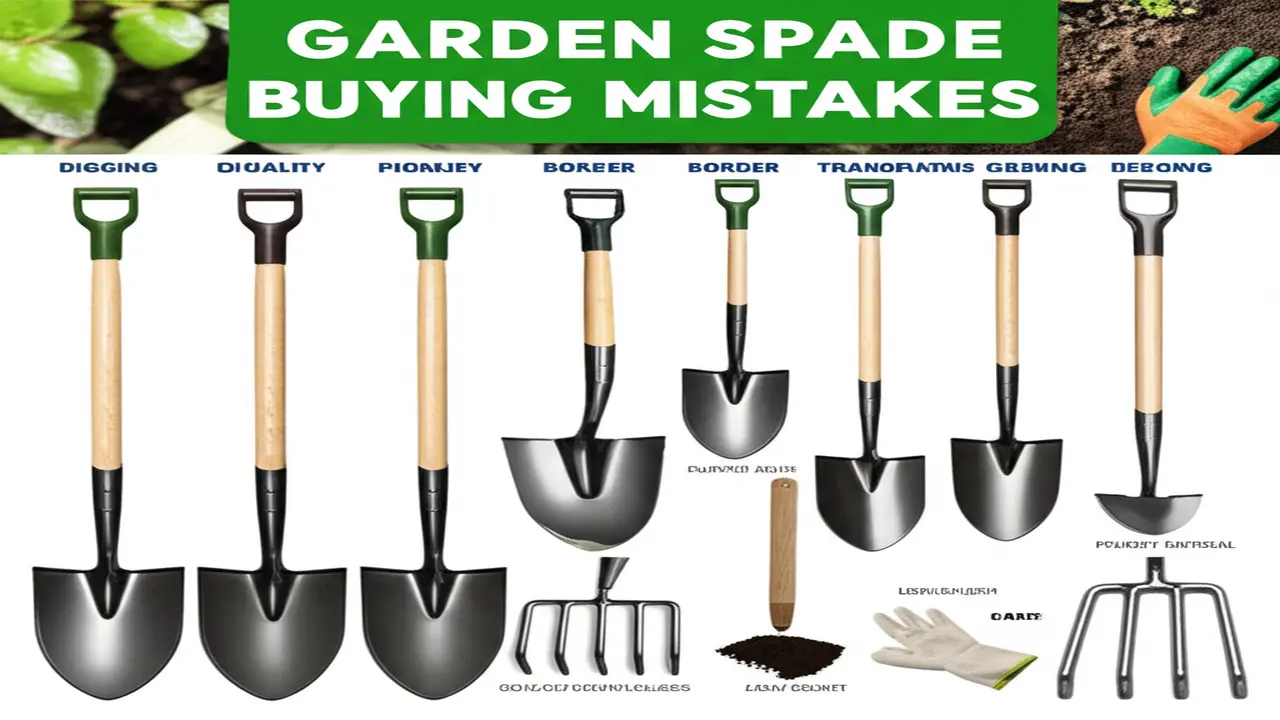
Hand cultivators come in varied forms, including forks, claws, trowels, and hoes, each suited to specific tasks. Their benefits in garden soil health include soil aeration, alleviation of compaction, weed disruption, and thorough mixing of organic amendments.
Choosing the right tool depends on the task at hand: fine cultivation for flower beds or breaking up tough clay soil will require different cultivator types. This precision enhances soil structure and promotes root growth.
Phase 1: Preparing Your Garden Beds for Accurate Soil Samples
Effective hand cultivator soil testing begins with meticulous bed preparation. Use the hand cultivator to clear surface debris and gently loosen compacted topsoil. Identify representative areas across your garden to pull soil samples from the recommended 6 to 8 inches depth, ensuring diverse samples that reflect the overall plot.

Combine multiple subsamples in a clean bucket to obtain a composite sample that better captures your soil’s variability. Avoid contamination by using clean tools and save samples in breathable bags or containers. Timing soil testing in early spring or fall ensures relevance for the growing season.
Deciphering Your Soil Test Results: Translating Data into Action
Once results arrive, key metrics warrant focus. Soil pH influences nutrient availability, with optimal ranges typically between 6.0 and 7.0 for most garden plants. Macronutrients like nitrogen support leaf growth, phosphorus fuels root and flower development, and potassium aids in disease resistance.
Organic matter levels contribute to soil structure, moisture retention, and microbial health, while micronutrients (e.g., iron, zinc) though required in smaller amounts, are vital. Laboratories often provide actionable recommendations such as lime to raise pH or sulfur to lower it.
Phase 2: Effectively Applying Soil Amendments with Your Hand Cultivator
Based on the soil analysis, selecting the correct amendments is pivotal. Adjust pH judiciously using lime or sulfur. Nutrient additions might include organic compost, granular fertilizers, or bone meal. Soil conditioners such as gypsum can improve clay soils, while perlite or vermiculite benefit sandy soils by enhancing aeration and moisture retention.

Calculate amendment rates according to package instructions or soil test advice. Spread evenly over the bed, then use the hand cultivator to mix amendments into the top 4 to 6 inches of soil meticulously, preserving soil horizons and structure. This uniform integration supports effective nutrient uptake by plants.
Beyond Testing: The Ongoing Role of Hand Cultivation in Sustaining Soil Health
Hand cultivation remains essential beyond initial soil preparation. It continuously improves soil aeration and drainage, crucial for root respiration and microbial ecosystem balance. Furthermore, it enables organic weed control without chemicals and assists water management by forming furrows or mounded beds.
Incorporating mulch after cultivation sustains moisture and protects soil from erosion, completing the cycle of soil health care.
Expert Tips and Common Mistakes to Avoid
Experts recommend testing soil every 2 to 3 years or before significant planting changes. Cultivate when soil moisture is balanced — too wet and the soil structure suffers; too dry and amendments may not integrate well. Clean tools between uses to avoid disease transfer.
Avoid frequent or deep cultivation that can disrupt soil life and structure. Also, taking non-representative samples or over-applying amendments leads to poor outcomes. Faithful adherence to guidelines optimizes garden health.
Seasonal Soil Care: Integrating Testing and Cultivation into Your Garden Routine
Effective soil care synchronizes with seasons. In spring, perform baseline soil testing, prepare beds, and apply initial amendments. Summer focuses on spot cultivation and supplemental feeding as needed. Autumn involves post-harvest testing, cover cropping, and building organic matter. Winter is for soil resting with minimal disturbance.

Conclusion: Cultivating Knowledge for a Bountiful Harvest
Properly integrating hand cultivator soil testing ushers gardeners into a more deliberate and successful cultivation cycle. The combination of precise testing, thoughtful amendment, and diligent hand cultivation builds the foundation for optimal soil health and ultimately, thriving gardens. By embracing ongoing learning and observation, gardeners sharpen their expertise, leading to rewarding harvests year after year.
Frequently Asked Questions (FAQs)
- How often should I test my soil?
- Testing every 2 to 3 years is ideal, or when beginning a new garden project or planting regime.
- Can I use a hand cultivator for deep tillage?
- Hand cultivators are best for surface cultivation and mixing amendments; deep tillage requires heavier tools like spades or rototillers.
- What is the difference between a hand cultivator and a trowel for soil sampling?
- Hand cultivators loosen soil and mix amendments, whereas trowels are more precise for collecting small soil samples for testing.
- How long does it take for soil amendments to show effects?
- Organic amendments can take several weeks to months, while chemical fertilizers may provide faster results — days to weeks.
- Is hand cultivation suitable for no-dig gardening?
- No-dig gardening limits soil disturbance, so hand cultivation is usually minimized or avoided to preserve soil structure and microorganisms.
To deepen your knowledge of gardening tools, consider exploring detailed guides about best garden spades and ergonomic garden spades, which complement the use of hand cultivators in soil preparation.
For comprehensive soil testing insights, you may also refer to expert resources like the University of California Agriculture and Natural Resources and The Old Farmer’s Almanac – Soil Testing Guide.
With informed practice, your garden soil will thank you with vibrant growth and abundant yields.