
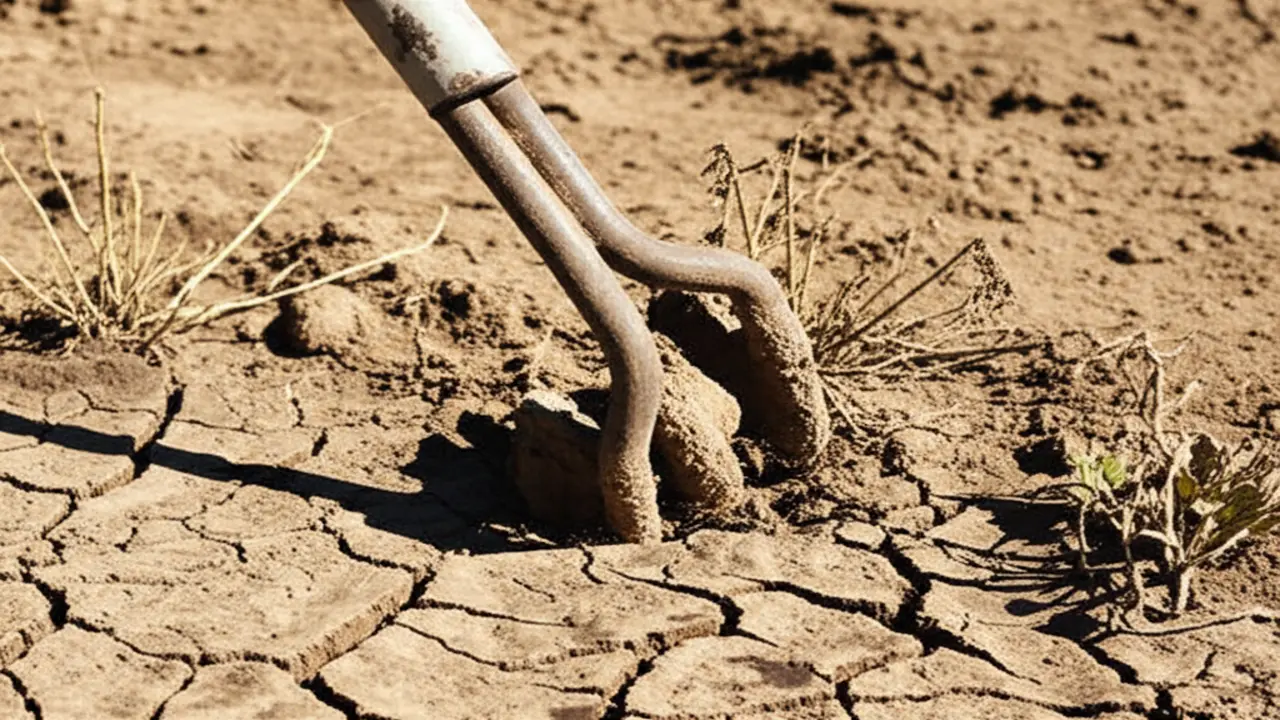
1. Introduction: Why Sharpen Your Hand Cultivator?
2. Essential Tools for Hand Cultivator Sharpening
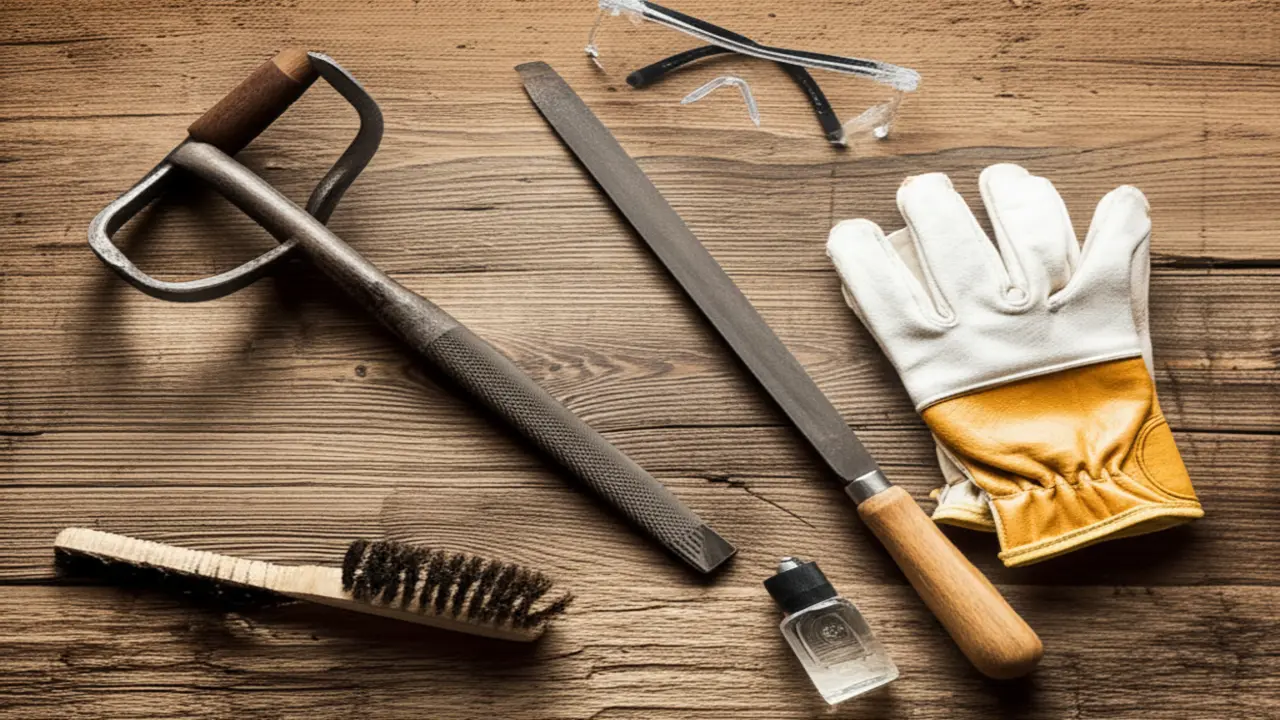
* Sharpening Tools: A mill or bastard file is your primary workhorse for re-establishing the edge on the tines. For refining that edge to a sharp finish, a whetstone or a diamond sharpener is invaluable. Coarse grits reshape, while fine grits hone.
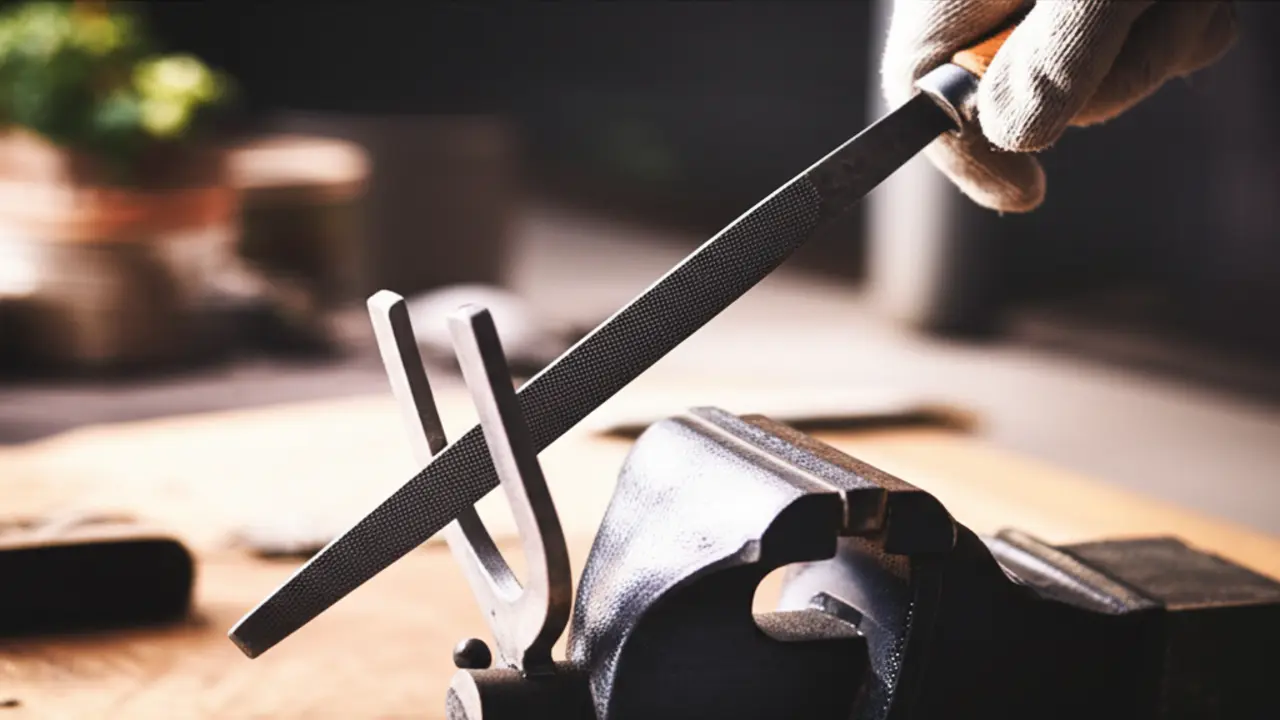
* Safety and Securing: Heavy-duty gloves are non-negotiable to protect your hands. We also strongly recommend a bench vice or a C-clamp to secure the cultivator firmly. This prevents slipping and allows you to use both hands for precise control.
* Cleaning and Protection: A simple cloth and a lubricant such as WD-40 or basic machine oil are vital. Cleaning the tool before sharpening removes abrasive grit, and applying a lubricant afterward is a key step in overall hand cultivator maintenance to prevent rust.
3. Safety First: Precautions for Sharpening
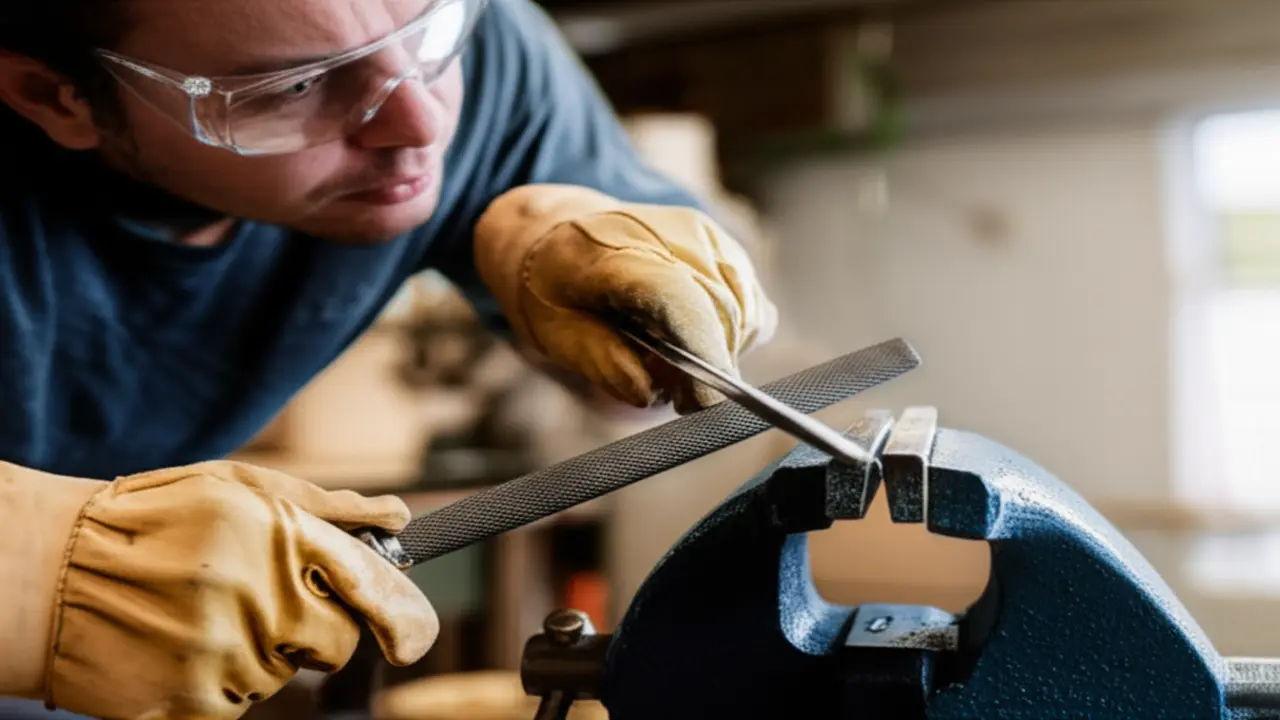
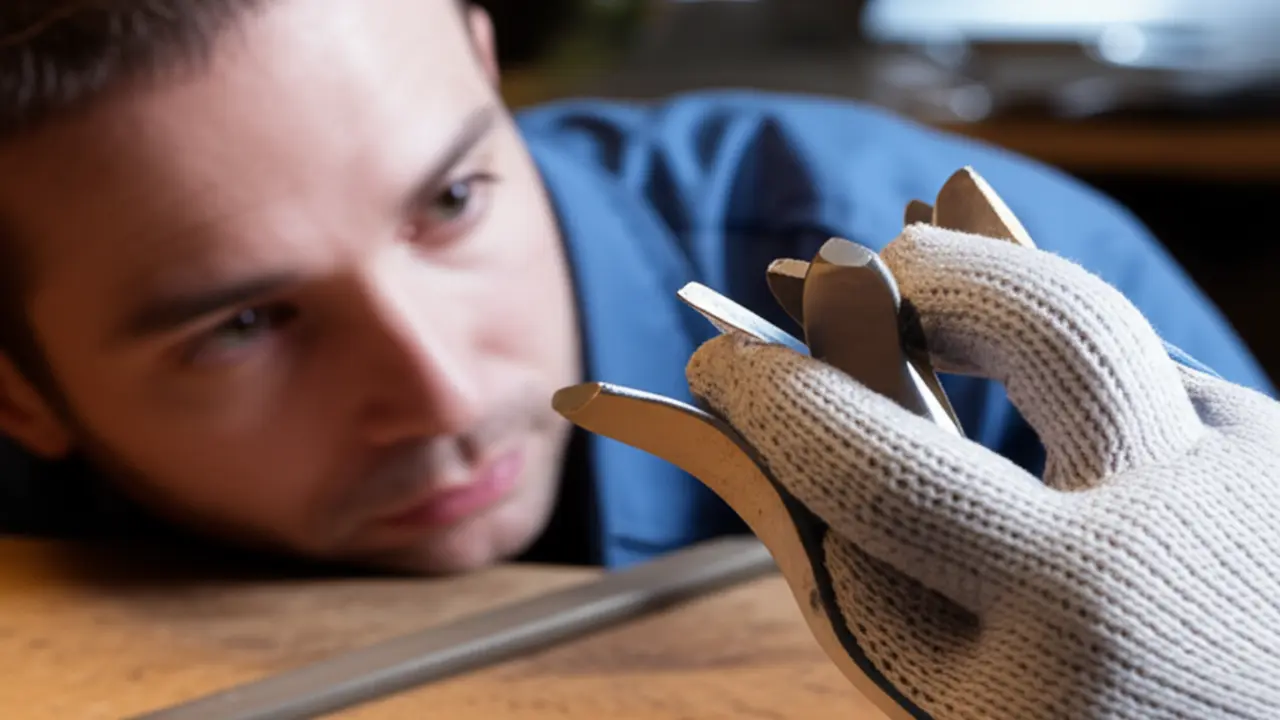
* Wear Protective Gear: Start by putting on a pair of thick, durable leather or cut resistant gloves. This protects your hands not only from the freshly sharpened tines but also from metal burrs and filings created during the process.
* Secure the Tool: Never hold the cultivator in one hand while sharpening with the other. Secure it firmly in a bench vise or with a C clamp to a stable workbench. This prevents the tool from slipping, which could cause a serious cut.
* Maintain Stability: Ensure your work surface is flat, stable, and clear of clutter. An unstable setup is a recipe for accidents.
* Sharpen Away From Yourself: Always direct your sharpening strokes away from your body. If the file were to slip from the tine, this ensures it moves harmlessly away from you. This is a fundamental technique for keeping any garden tool in top shape and is a core part of good hand cultivator maintenance.
4. Step-by-Step Guide to Sharpening Your Hand Cultivator
Follow these clear steps:
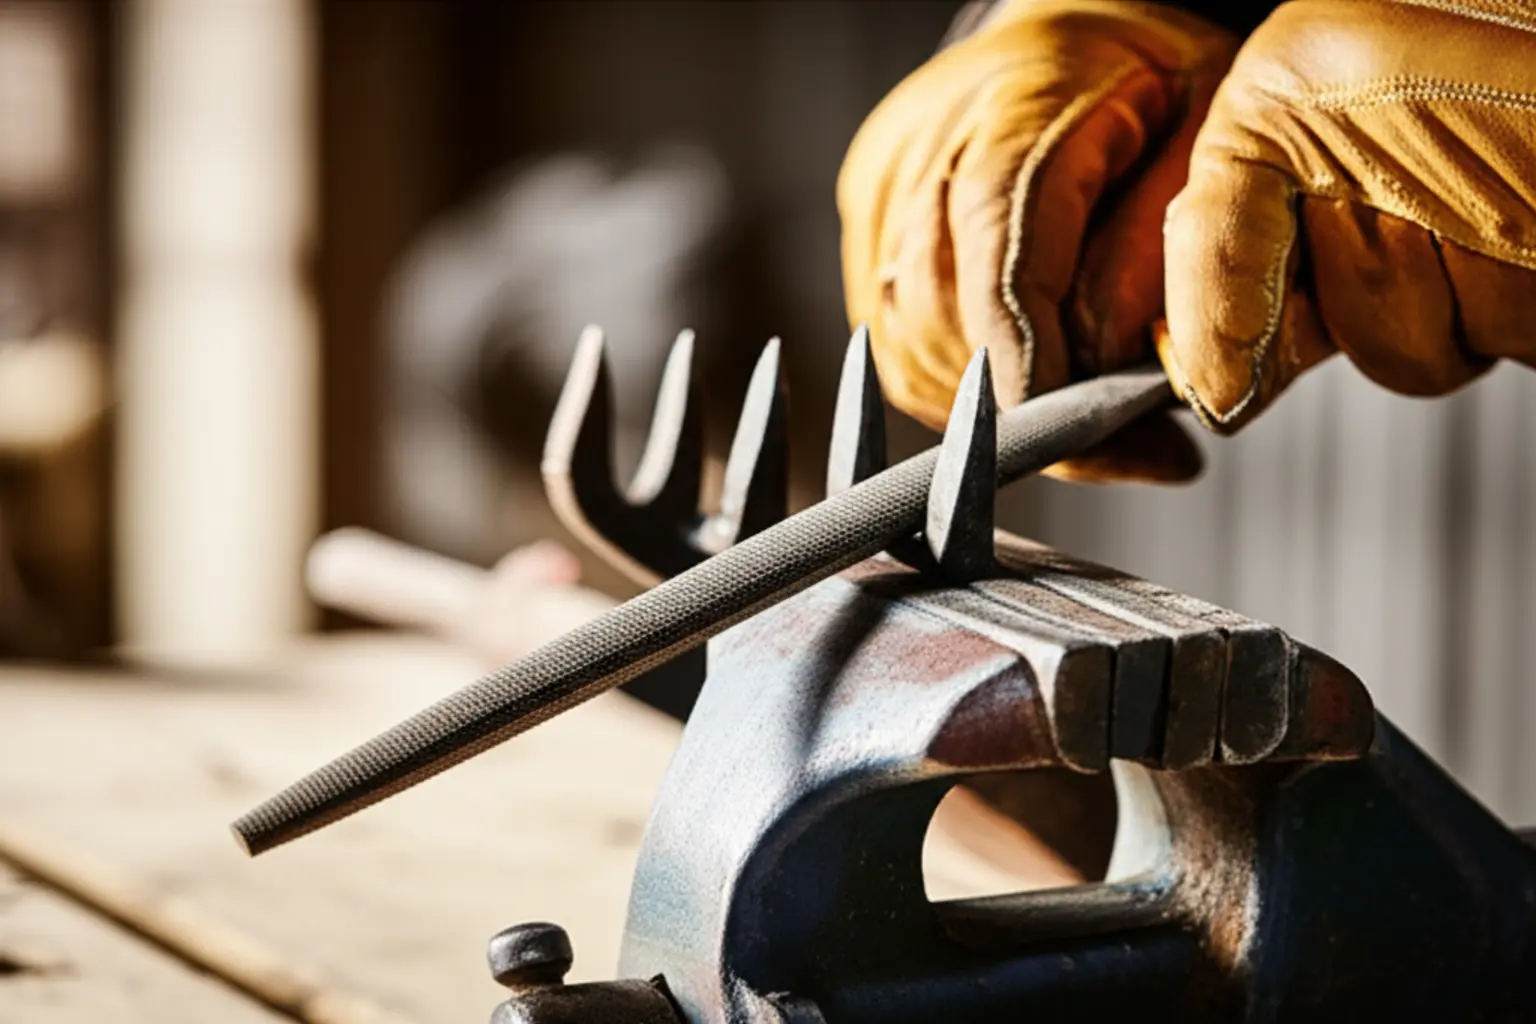
1. Use a coarse mill file to reshape any dull or damaged tines. Push the file across the edge at a consistent 20 to 30-degree angle, following the original bevel.
2. Once the basic shape is restored, switch to a finer grit sharpening stone to hone the edge. This creates a smoother, sharper finish.
3. Feel for metal burrs on the opposite side of the tine and gently file them off for a clean edge.
4. Finally, test the sharpness with care. A well-sharpened tine should feel sharp to a cautious touch or be able to cleanly slice through a piece of paper.
5. Post-Sharpening Care and Maintenance
6. Troubleshooting Common Sharpening Issues
7. FAQ: Answering Common Questions About Hand Cultivator Sharpening
– How often should I sharpen my tool? The frequency depends entirely on your usage and soil type. For gardeners with rocky or compacted clay soil, you might need to sharpen it every month during the growing season. For those with softer, loamy soil, a good sharpening at the beginning and end of the season is often sufficient. A simple rule is to check the tines before each use. If they look rounded or struggle to break up soil, it’s time for a touch-up.
– Can I use a grinding wheel? We strongly advise against using a power grinder for this task unless you are highly experienced. Grinding wheels remove metal very quickly and can easily overheat the tines, ruining the steel’s temper and making it soft. This permanently damages the tool. Stick to manual methods for better control and results.
– What is the best sharpening tool for a beginner? A 10-inch mill bastard file is your best friend. It’s inexpensive, easy to control, and removes material at a manageable rate, making it perfect for beginners learning the proper angle and pressure for hand cultivator sharpening in 2025.