Garden fork repair in 2025 remains a vital skill for gardeners who want to maximize the lifespan of their tools and maintain efficiency in their outdoor work. Proper repair techniques address common issues such as loose handles, bent or broken tines, and rust buildup, restoring your garden fork’s functionality quickly and reliably. Mastering these practical steps not only saves money and reduces waste but ensures your gardening tasks run smoothly. Following clear, actionable guidance will help you keep your tools strong and ready for every season.
1. Should You Repair or Replace Your Garden Fork?
When deciding on garden fork repair or replacement, assess the damage carefully for a practical choice. Consider the severity of breakage: minor bends or loose tines may be repaired, but extensive damage like a cracked handle or broken prongs often justifies replacement. Quality matters—premium forks with sturdy materials warrant repair to extend their life, while cheaper models might be more economical to replace. Compare costs: repair expenses, including tools or professional help, should not exceed buying a new fork. Skill requirements also influence the decision; simple fixes such as tightening or sanding can be DIY projects, but welding or handle replacement should be handled by experts. Prioritize safety and functionality—if a garden fork compromises these, replacement is the safer option. For further information on maintenance and care, explore related advice on [garden tool upkeep] and [choosing the right garden tools]. This approach helps you make a cost-effective, safe, and sustainable decision in 2025.
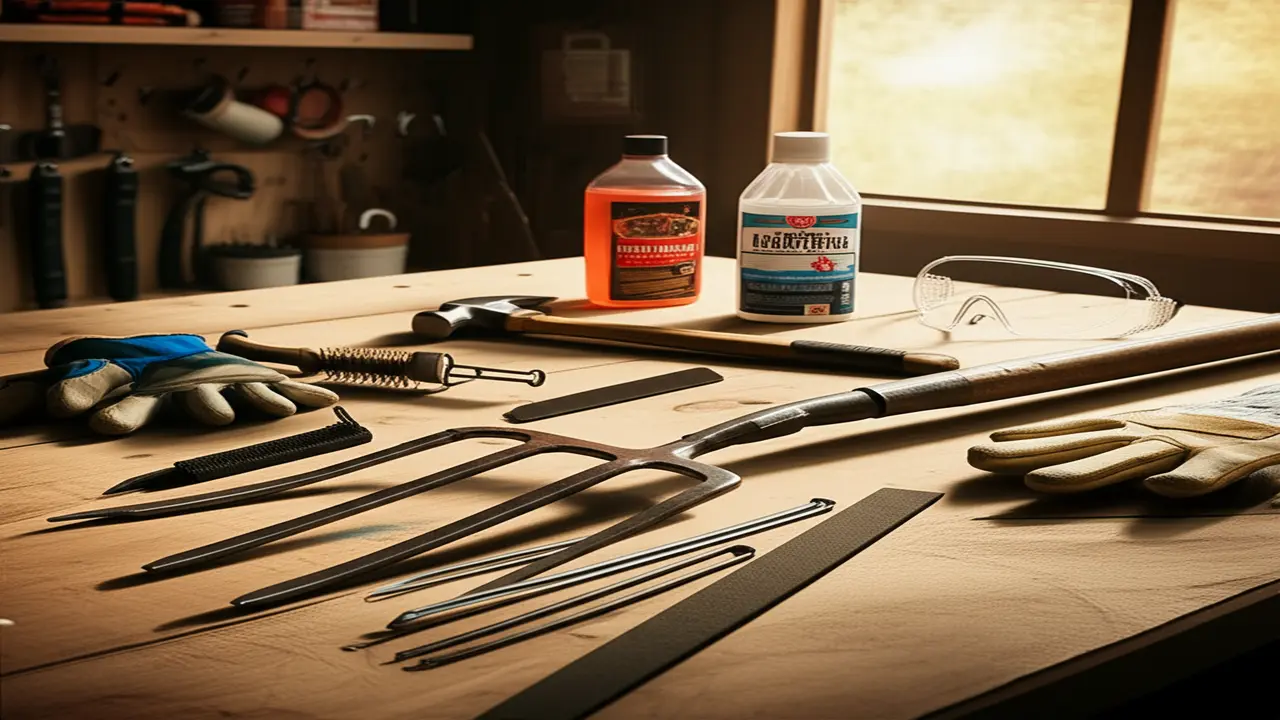
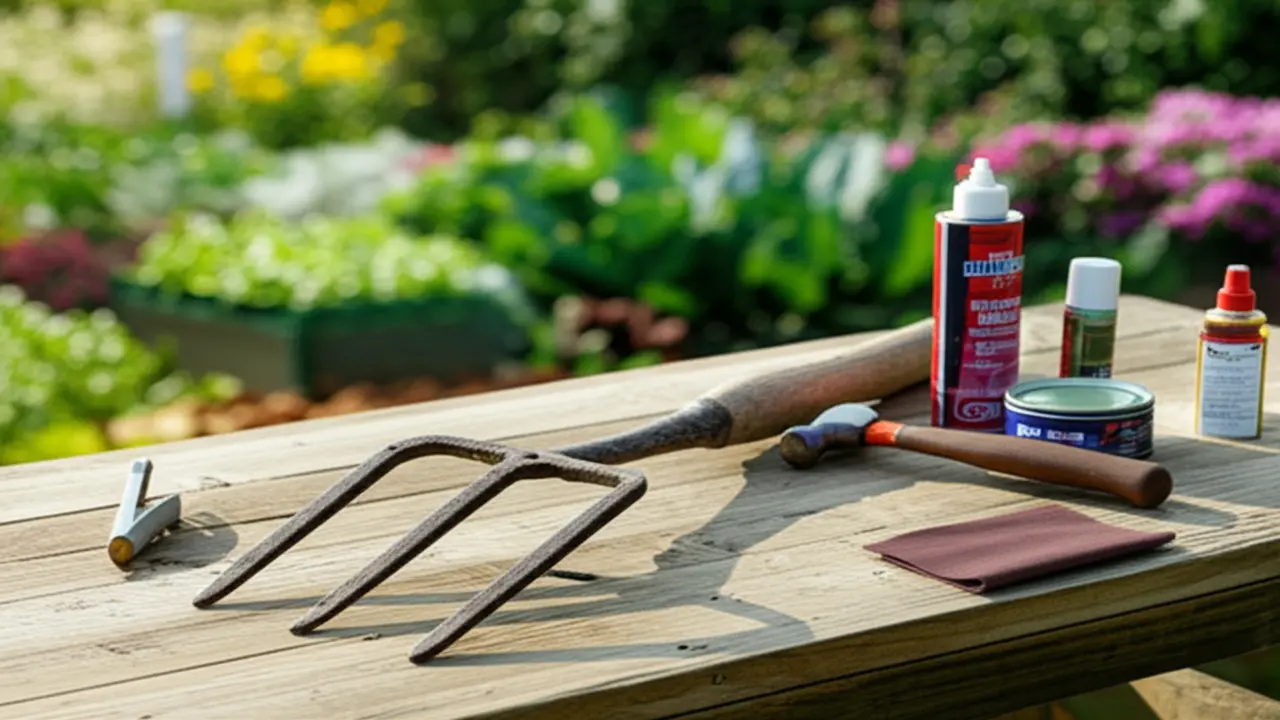
2. Tools and Materials Needed for Garden Fork Repair
For effective garden fork repair in 2025, having the right tools and materials is essential to ensure durability and efficiency. Key tools include a hammer for driving in replacement wedges or nails, a drill for making precise holes when fitting new handles, and a saw to trim handles to size. A vise holds the fork securely during repair, while sandpaper helps smooth handle surfaces to prevent splinters. Pliers assist in gripping and twisting metal parts during cleanup or adjustment. Essential materials consist of sturdy replacement handles made from hardwood, stainless steel screws or wedges for secure attachment, strong wood glue for added bonding, and rust removers to clean metal tines from corrosion. Choosing high-quality handles ensures longevity, and opting for galvanized or stainless components prevents future rusting. For comprehensive steps on repair techniques and additional tips, visit our detailed guide on garden fork maintenance and repair at Garden Item Reviews.
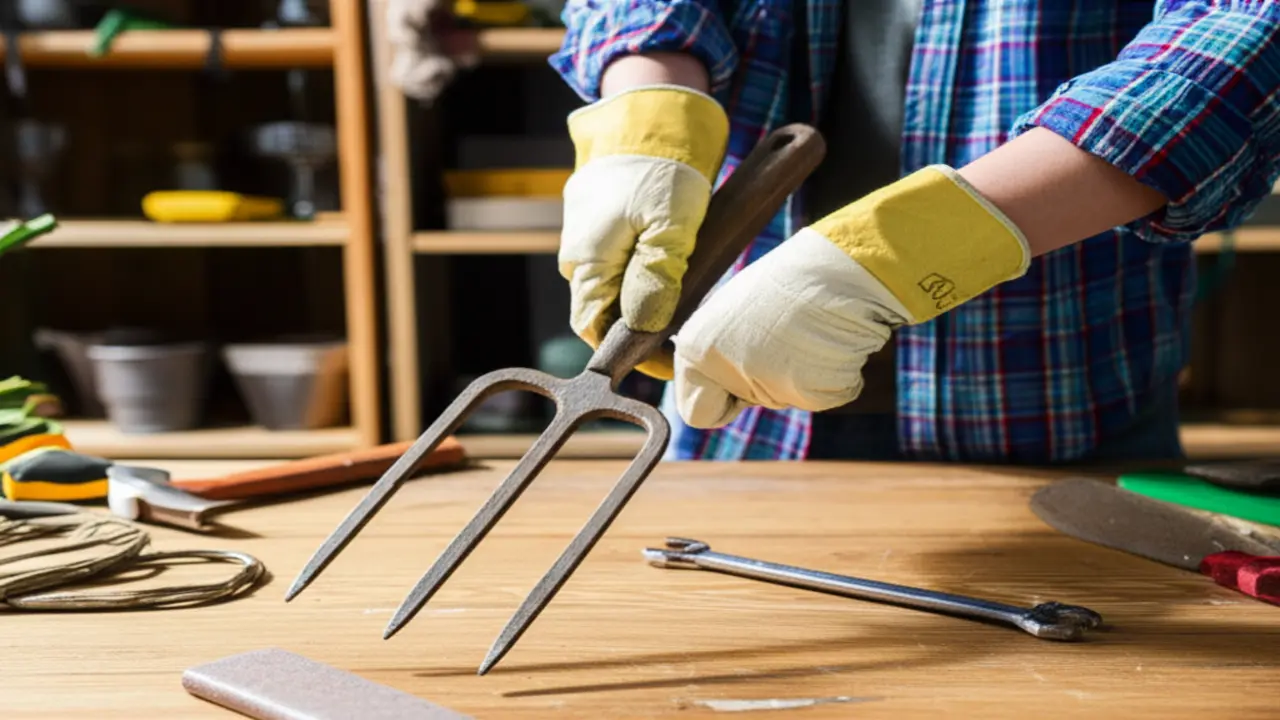
3. Fixing a Loose or Wobbly Garden Fork Handle
A loose or wobbly garden fork handle usually results from a poor ferrule fit, loosened wedges, or cracked wood. To perform garden fork repair effectively, first identify the root cause by checking the ferrule (the metal band connecting the handle to the fork head) for looseness and inspecting the handle wood for cracks or rot.
To fix the looseness:
– Tighten the ferrule if it’s adjustable. Use a hammer carefully to tap the ferrule down firmly onto the handle if it is loose.
– For cracked or weakened wood, apply wood glue or a strong epoxy inside the ferrule’s opening, then reinsert the handle to bond the parts securely.
– If the handle slot allows, insert metal or wood wedges to expand the handle’s fit inside the ferrule, stabilizing the connection.
Best practices to ensure lasting repair include cleaning old glue residues, allowing adhesives to fully cure according to manufacturer timelines, and avoiding over-tightening which can split the wood. Regularly lubricate metal parts and inspect your tools to prolong their lifespan.
For additional detailed repairs and maintenance tips, see our section on [Garden Fork Maintenance and Care](link-to-related-article). This approach to garden fork repair guarantees restored handle stability and safe, comfortable tool use through 2025 and beyond.
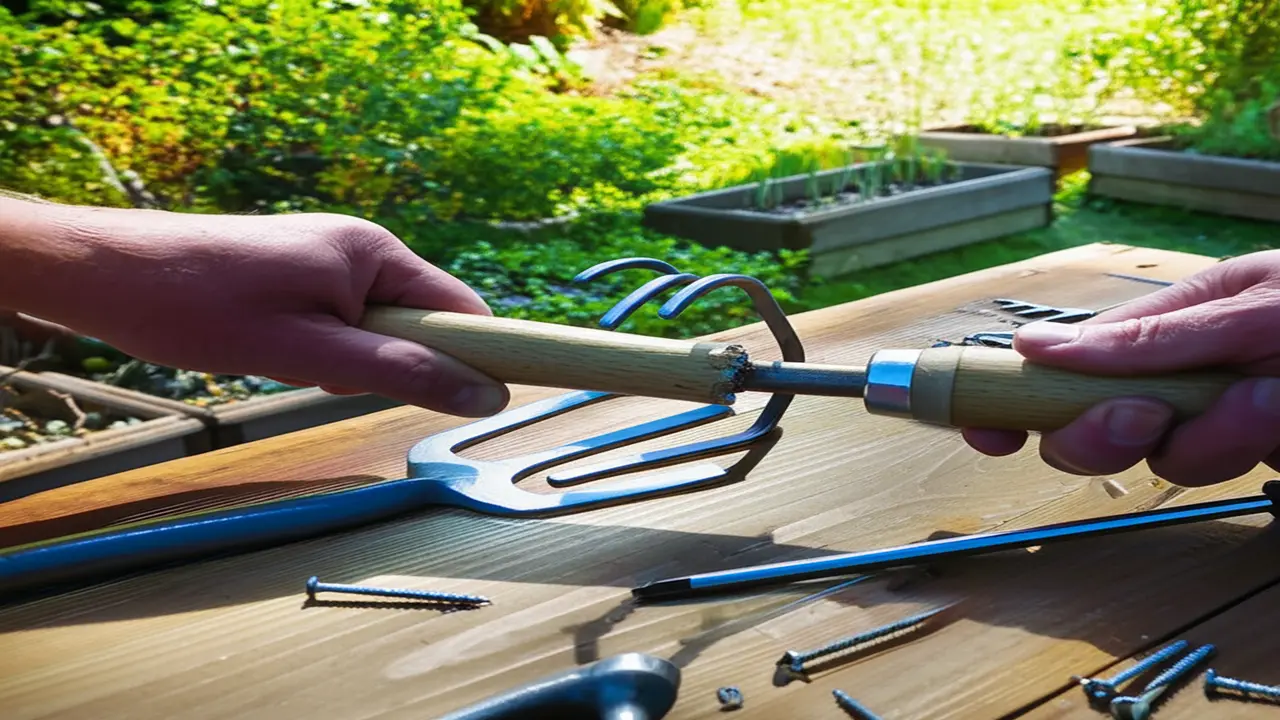
4. Replacing a Broken Garden Fork Handle
Replacing a broken garden fork handle is a common garden fork repair task that requires proper technique to ensure durability and safety. Begin by identifying the type of socket securing the old handle; some use galvanized screws, others a wedge or even epoxy bonding. Safely remove the broken handle by loosening screws or gently tapping out wedges without damaging the socket. Prepare the replacement handle by trimming it to the exact length and shaping the end for a snug fit inside the metal socket. Attach the new handle securely using durable screws or wedges, or apply epoxy for a stronger bond if suitable. Remember to smooth any rough edges and treat the wood with a protective finish like linseed oil to extend handle life and prevent weather damage. For detailed methods on handle preparation and securing, see our guide on maintaining garden tools which covers socket types and attachment techniques extensively.
5. Straightening Bent Garden Fork Tines
Straightening bent garden fork tines is a critical step in garden fork repair that maintains tool efficiency and safety. Begin by carefully assessing the severity of the bend and identifying the type of metal used in the tines, as this influences the straightening method. For mild bends, use a sturdy vise to clamp the tine firmly, then gently tap with a mallet to realign it. For stronger bends, applying leverage with a pipe over the tine can provide controlled force. In cases involving tougher metals, controlled heating can make bending easier, but this requires caution to prevent metal fatigue or breakage. Always wear protective gear, including gloves and eye protection, to avoid injury. Avoid excessive force that can weaken the metal structure. If you want to extend tool life further, explore our guide on garden tool maintenance for additional repair tips and care practices.
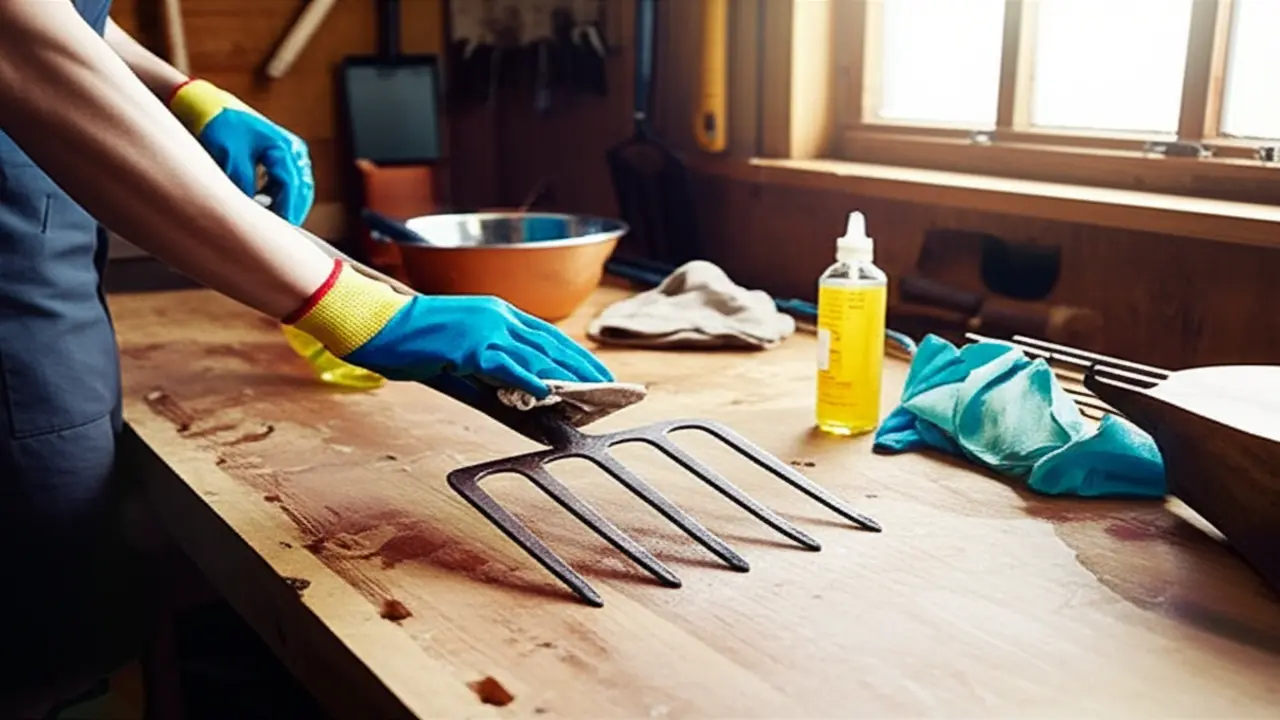
6. Effective Rust Removal for Garden Fork Metal Parts
Rust is the primary enemy of garden fork metal parts, compromising their strength and efficiency. Proper rust removal is essential in garden fork repair to extend tool longevity and maintain optimal performance. Mechanical methods such as wire brushing and sanding physically strip rust from surfaces. For chemical treatments, soaking metal parts in vinegar or applying oxalic acid can dissolve rust effectively, while rust converters chemically transform rust into stable compounds. For those familiar with advanced techniques, electrolysis rust removal offers a precise, non-abrasive solution by using electrical currents to dislodge rust without damaging the underlying metal. Always prioritize safety by using gloves and eye protection during these processes. After rust removal, protect the metal by applying a rust-inhibiting primer or oil coating to prevent future corrosion. For detailed maintenance tips and product suggestions, visit our Garden Fork Maintenance Guide and explore recommended rust removers compatible with various metal types.
7. Preventative Maintenance to Extend Garden Fork Life
Proper garden fork repair begins well before any damage occurs. To extend the life of your garden fork, consistent preventative maintenance is essential. After each use, thoroughly clean the fork to remove soil and debris; this prevents rust and wear. Immediately dry it to avoid moisture retention that leads to corrosion. Inspect the tines and handle regularly for looseness, cracks, or bent parts—addressing these early reduces more serious repair needs.
Applying a light coat of protective oil on metal parts safeguards against rust and keeps the fork functioning smoothly. When storing, keep the garden fork in a dry, sheltered area away from direct ground contact to prevent damage from dampness.
Routine care like this minimizes common issues that typically require extensive garden fork repair. By adopting simple habits such as cleaning and inspection, you preserve the tool’s performance and reliability for years. For guidance on safe storage and maintenance techniques, see our gardening tool care section. Remember, prevention is more effective and economical than repairs after neglect.
8. Troubleshooting Common Garden Fork Repair Challenges
When tackling garden fork repair in 2025, several common challenges arise that can delay or compromise the fix. Stuck handles are a frequent issue, often due to swelling wood or corrosion inside the socket. To resolve this, apply penetrating oil and gently tap the handle with a rubber mallet to loosen it. Avoid excessive force to prevent damage. Poor fit of new handles can result from incorrect sizing or wood swelling; sand the end of the new handle slightly for a snug fit, testing for stability before final installation. Tine fractures during straightening happen when metal has become brittle; heat treatment before bending can reduce the risk, but if fractures appear, replacement of the tine is advisable instead of forcing a repair. Recurring rust undermines durability—apply a rust inhibitor or paint after repair to protect metal parts. Maintaining clean, dry storage conditions will further prevent rust formation. Refer to our sections on proper handle replacement and tine maintenance for detailed repair steps to enhance the longevity of your garden fork and ensure safe, effective use in your gardening projects.
9. Budget-Friendly and Quick Fixes for Garden Fork Repair
For garden fork repair in 2025, simple and cost-effective fixes often resolve minor issues without needing specialized equipment. For loose handles, tighten any screws or nails; if these are missing or damaged, use wood glue and clamps to secure the handle temporarily. Wrapping the junction with strong tape or twine can add quick stability until proper materials are available. Surface rust can be removed by scrubbing with steel wool or fine sandpaper—both common household items—followed by applying a thin layer of oil to prevent further corrosion. These practical methods save money and time by extending the life of your garden fork and ensuring it remains usable for everyday gardening tasks. For more advanced fixes and maintenance tips, check our related section on garden tool care.
10. Understanding Your Garden Fork: Forged vs. Stamped and Why It Matters
Garden fork repair requires understanding the key differences between forged and stamped garden forks. Forged forks are made by heating and hammering a solid piece of metal into shape, resulting in a sturdy, durable tool. This construction means they are less prone to bending and breaking but may require professional welding for complex repairs when metal fatigue occurs. On the other hand, stamped forks are made by pressing metal sheets into shape, making them lighter and more affordable but generally less strong. Typical failure points in stamped forks include bent tines and cracks near the base, which are often repairable through reshaping or welding, though they may require replacement sooner than forged versions. Recognizing whether your garden fork is forged or stamped helps decide the best approach to garden fork repair and maintenance, ensuring longer tool life and better performance. For more on garden maintenance tools and their upkeep, visit our section on proper garden tool care and repair methods.
11. Internal Resources and Further Reading
For those interested in garden fork repair, leveraging our curated internal resources can significantly enhance your skills and knowledge. Maintaining and repairing garden forks involves techniques that align closely with general gardening tool upkeep. To deepen your understanding, explore our articles on related topics such as garden spade maintenance, rust prevention, and sharpening techniques. These resources provide practical advice on extending tool life and improving functionality.
Consider visiting our detailed guides on garden spade maintenance and garden spade rust prevention to learn about methods that also apply to garden forks. For practical sharpening tips that are crucial for effective tool performance, see our guide on sharpening garden spade blades. Additionally, understanding ergonomic designs and replacement parts can optimize both comfort and tool longevity, which you can find in our articles on ergonomic garden spades and garden spade replacement parts .
Utilizing these internal links provides a broad perspective on tool care and repair, making your garden fork maintenance more efficient and reliable in 2025.